The solar panel installation process has a rhythm that never changes no matter how many times we run it: assess, design, permit, build, inspect, energize. What changes is where each job bleeds time, and after years of shipping equipment to installers across the Northwest I can tell you the bleed is almost never on the roof. It is in the queue at the building department, in the utility's interconnection inbox, and in the gap between "crew is ready" and "material is staged." This guide walks the process in the order a real project experiences it, with the code references, math, and checklists we hand to our own contractor customers.

Every code citation below is from the 2023 NEC unless noted. Your AHJ may be on 2020 or may have local amendments — verify before you build. The math examples use real formulas you can re-run with your own module datasheets.
Phase 1: Site assessment and usage analysis
Everything downstream depends on two numbers captured in week one: how much energy the customer uses, and how much roof can honestly produce. Pull twelve months of utility bills — not a verbal estimate — and convert to average daily kWh. Then measure the roof the hard way: usable rectangles after fire-code setbacks, azimuth and tilt per plane, and a shade study if anything taller than the roofline stands within a few hundred feet to the south. A plane at 210° azimuth and 25° tilt in Portland produces roughly 15 percent less than an ideal south face; promising a customer "same output" on a west-facing array is how reputations die.
Open the main panel while you are on site. Record the bus rating, main breaker, and count available spaces, because the NEC 705.12 120 percent rule decides the maximum backfeed before any design work starts. Our service upgrade guide covers what happens when the panel says no, and the system size calculator turns the kWh history into a target array size. For customers who want to understand their loads first, the whole-home wattage breakdown is a solid pre-read.
Phase 2: System design and string math
Design locks three things: module count and layout, string configuration, and the one-line diagram the utility will review. String sizing is the math that bites people, so here is the full worked example using NEC 690.7 temperature correction for a 550W-class commercial module on a ground-mounted rack:
| Step | Formula / rule | Worked value |
|---|---|---|
| Module Voc at STC | Datasheet | 49.8 V |
| Voc temp coefficient | Datasheet | -0.26 %/°C |
| Design low temp | NEC 690.7(A), ASHRAE extreme minimum | -10 °C |
| Correction factor | 1 + (25 − (−10)) × 0.0026 | 1.091 |
| Cold Voc per module | 49.8 × 1.091 | 54.3 V |
| Max system voltage | NEC 690.7 | 600 V (this design) |
| Max modules per string | ⌊600 ÷ 54.3⌋ | 11 |
| Cold string Voc check | 11 × 54.3 = 597.6 V | ✓ under 600 |
| Hot-weather Vmp floor | 11 × 41.2 V × ~0.88 temp derate | ≈ 399 V — inside a 200–500 V MPPT window ✓ |
Run both limits every time: the cold ceiling from 690.7 and the hot floor against the inverter's MPPT low end. A string that passes in January can drop out of MPPT on an August afternoon if you sized to the edge. The wiring basics guide explains why series strings multiply voltage while parallel strings multiply current — the distinction that drives every number above.
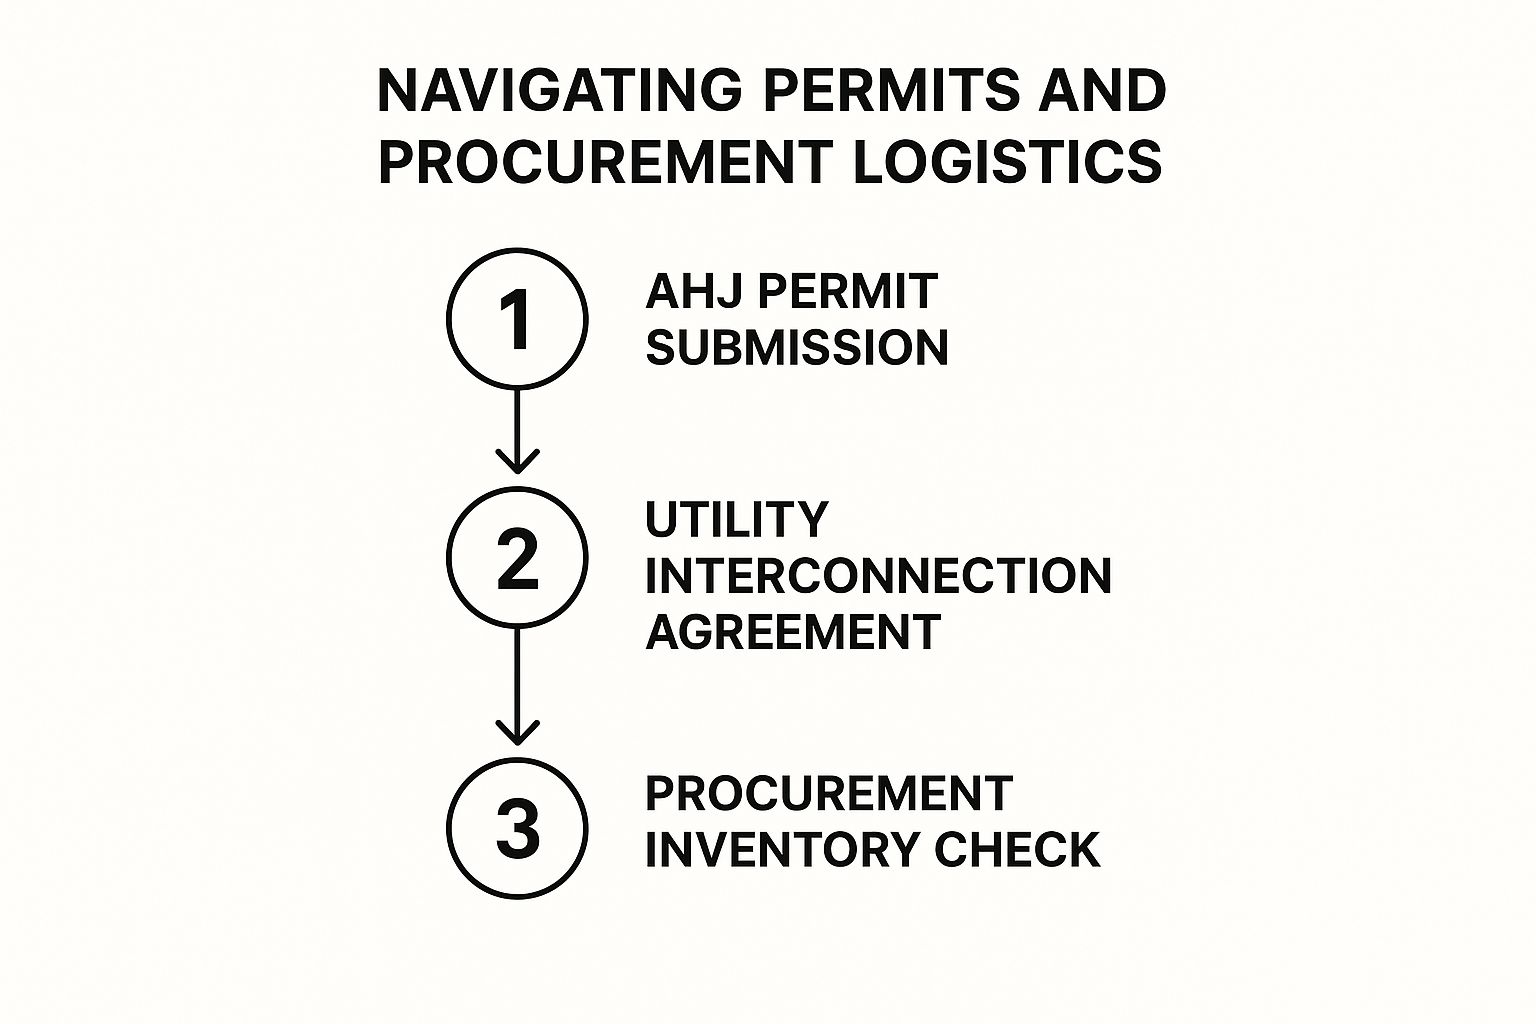
Phase 3: Permits and utility interconnection
Two paper tracks run in parallel and neither should wait for the other. The AHJ wants the building/electrical permit package: site plan, roof plan with setbacks, structural letter or racking ESR documentation, one-line diagram, and spec sheets for every listed component. The utility wants the interconnection application: the same one-line, inverter certification (UL 1741 SB in most territories now), and the expected annual production. In Oregon the residential permit path is fairly standardized; in Washington some jurisdictions still want wet-stamped structural letters for anything over standard spans.
File the interconnection the day the design freezes. Utility review queues run two to six weeks and they do not expedite because your crew is standing around. I have watched a two-week install turn into a ten-week project because someone mailed the interconnection packet after the racking was already on the truck. Sequence the paperwork like you sequence the pull schedule — first in, first out.
Phase 4: Procurement and staging
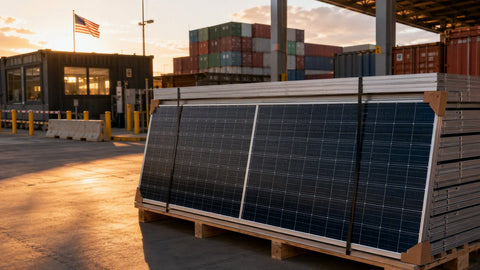
Order long-lead items first: modules, inverter, and any MLPE. Racking, wire, and BOS material ship fast from stock but generate the most job-stalling omissions — hold-down kits, bonding clamps, the right EMT connectors, labels. Build the BOS list directly off the plan set and check it twice. For module selection across wattage classes, our 400–459W residential panels and 550–709W large-format panels cover the two most common build types, and the panel kit buyer's guide bundles the major pieces for crews that would rather order once.
Phase 5: The build — racking, modules, electrical

Racking day is layout day: chalk the attachment grid off the rafter map, install flashed standoffs, set rails square with the specified splice gaps, and torque everything to the manufacturer's number with a calibrated wrench. Modules go down the next day, mid-clamps torqued to spec — under-torqued clamps are a wind-uplift failure and over-torqued clamps crack frames, and both are warranty conversations nobody wants. The racking systems overview compares the major platforms if you are still choosing.
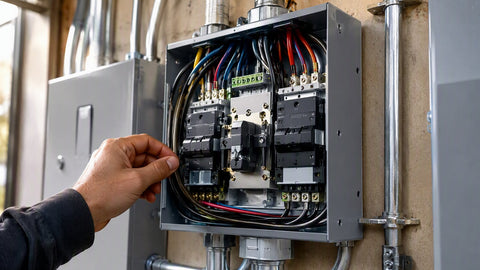
Electrical follows immediately behind: PV wire managed under the array with listed clips (never draped on the roof — 690.31(C) and common sense), homeruns in EMT with Chapter 9 fill limits respected, and the inverter set with datasheet clearances. Conductor sizing starts at NEC 310.16 and stacks the 690.8 multipliers — 1.56 × Isc before temperature corrections:
| Circuit | Sizing rule | Example: Isc 13.5 A string |
|---|---|---|
| PV source circuit conductor | NEC 690.8: Isc × 1.25 × 1.25 | 13.5 × 1.56 = 21.1 A → 12 AWG (25 A @ 75°C) ✓ |
| Two strings paralleled | Same rule on combined Isc | 27 × 1.56 = 42.1 A → 8 AWG (50 A @ 75°C) ✓ |
| Inverter output circuit | Continuous: output current × 1.25 | 32 A × 1.25 = 40 A → 8 AWG + 40 A breaker ✓ |
| Equipment grounding conductor | NEC 250.122 off the OCPD | 40 A breaker → 10 AWG EGC |
Breaker selection comes from the standard ratings in NEC 240.6(A). Know this list cold — it is the difference between a legal round-up and a code violation:
| Range | Standard ratings (A) |
|---|---|
| Small frame | 15, 20, 25, 30, 35, 40, 45, 50 |
| Medium frame | 60, 70, 80, 90, 100, 110, 125 |
| Large frame | 150, 175, 200, 225, 250, 300, 350, 400 |
| Above 400 | 450, 500, 600, 700, 800 and up — round-down rules tighten; check 240.4(B) limits |
Overcurrent devices and disconnects for PV live under 690.9 and 690.13–690.15; our disconnect and OCPD guide goes deep on device selection. For the raceway itself, PVC vs EMT vs RMC for solar covers which conduit belongs where, and the conduit fill chart keeps your pull legal.
Phase 6: Grounding, rapid shutdown, and labeling
Bond every rail and module frame with listed hardware per 690.43 and Article 250, size the EGC per 250.122, and never assume anodized aluminum makes the bond for you. Rapid shutdown under 690.12 needs its initiation device at a readily accessible location with the placard the inspector expects to see. Labels are the cheapest pass/fail item in the whole process — 690.55, 705.10, and 690.56(C) each have their own placard requirements, and a $40 label printer has saved more re-inspection fees than any tool on the truck. The grounding and bonding guide has the full treatment.
Phase 7: Inspection, commissioning, and PTO
Commission before the inspector shows up. Voc and polarity on every string, insulation resistance if you have the tester, rapid shutdown function verified from the initiation device, monitoring live with every module reporting. Then AHJ inspection, utility witness where required, meter swap, and permission to operate. Energizing before PTO is the one mistake that can actually unwind an interconnection agreement — wait for the email.
| Commissioning check | Pass criterion | Tool |
|---|---|---|
| String Voc vs design | Within ~5% of calculated value at current cell temp | CAT III meter |
| Polarity | Positive to positive at every landing | Meter, and eyes on the labels |
| String current under load | Strings on the same MPPT within 10% of each other | DC clamp meter |
| Rapid shutdown | Conductors drop to ≤30 V within 30 s inside boundary (690.12) | Meter at the array edge |
| Ground continuity | All rails/frames bonded to EGC | Continuity tester |
| Monitoring | Every module/optimizer reporting | Installer app |
Field notes from the scheduling desk
We have kitted material for hundreds of installs, and the projects that close in six weeks all share one habit: the contractor treats permits and interconnection as critical-path tasks owned by a named human, not as paperwork somebody will get to. I have stood at our will-call counter watching a crew load a full job while their office discovered the structural letter was never ordered — that pallet sat in their yard for five weeks. The roof work is the easy part. The calendar is the job.
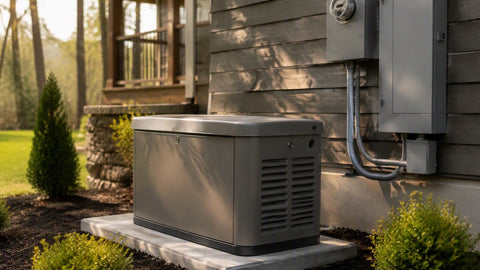
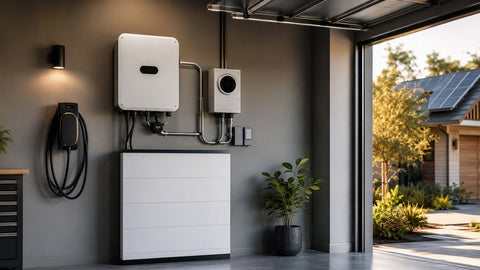
For battery-ready builds that extend this process, the hybrid inverter guide explains the equipment fork in the road, and the battery bank sizing guide carries the math into storage territory. If the customer is weighing a generator alongside solar instead, the generator sizing guide and our 14–17 kW standby range frame that comparison honestly.
Residential versus commercial: same skeleton, different skeleton crew
The process phases are identical at 8 kW and at 500 kW, but the emphasis inverts. Residential is a paperwork marathon with a two-day build; commercial is an engineering project where the build itself becomes the long pole. On commercial jobs the structural review is a real stamped calculation set rather than an ESR letter, the interconnection study can take months and may impose export limits or require a dedicated transformer, and the AHJ expects a commissioning plan document before they schedule a final. Materials logistics scale differently too — a 40 kW rooftop is one pallet of modules and a gang box, while a 500 kW job is a laydown yard, a telehandler, and a delivery schedule negotiated around the tenant's business hours. Our commercial cost guide breaks down how the money moves at that scale.
What the process costs, phase by phase
Customers who understand where the money goes make faster decisions and argue less. A transparent residential breakdown for a typical 8–10 kW build:
| Process phase | Typical cost share | What drives it up |
|---|---|---|
| Design, engineering, permits | 5–10% | Structural letters, complex AHJs, panel upgrades |
| Modules | 20–30% | Premium efficiency, all-black aesthetics, tariff swings |
| Inverter and MLPE | 10–20% | Hybrid capability, optimizer-per-module designs |
| Racking, wire, BOS | 10–15% | Tile roofs, long homeruns, trenching to detached structures |
| Labor | 15–25% | Steep pitch, multiple roof planes, winter weather float |
| Overhead and margin | 15–25% | Financing fees are the silent multiplier here |
Working with inspectors instead of against them
The inspector is not your adversary; the inspector is a second set of trained eyes you did not have to pay for. Treat them accordingly. Have the approved plan set printed and on site — not on a phone. Walk the roof with them if they will let you. When they call a correction, fix it without the theatrical sigh, because the next correction notice they write will be for a contractor who made their morning difficult. I have watched the same deficiency — missing 690.56(C) rapid shutdown placard — get written as a simple correction for the pleasant crew and as a full re-inspection fee for the crew that argued. The code is the code; the experience is negotiable.
After PTO: the first year is part of the process
Handing over the keys is not the end of the process — it is the start of the performance year. Set a calendar reminder for a 30-day production review against the model, another at the first big storm to check the attic side of every penetration, and a one-year walk to re-torque accessible terminations and check wire management clips for UV damage. Production that runs 5 percent under model in month one is usually a monitoring configuration issue, not a hardware failure, and catching it early is the difference between a five-minute fix and a warranty claim. Customers who see their installer at day 30 and year one refer their neighbors. That is the whole marketing plan.
Common process failures and how to prevent them
Four failures generate most of the rescue calls we field from other contractors' jobs. First, strings landed before the inverter location was finalized, leaving homeruns six feet short — measure the inverter wall before you pull, not after. Second, modules ordered before the structural letter came back, forcing a layout change that orphaned four panels — long-lead orders wait for engineering, always. Third, the utility meter spot turned out to be 40 feet from where the homeruns were stubbed — read the utility's service requirements handbook during design, not during inspection week. Fourth, the crew torqued clamps with an impact driver on the highest setting because it was in somebody's hand — the torque wrench lives in the crew lead's pocket, and that is a policy, not a suggestion. Every one of these is a process failure with a name and a date, not an equipment problem.
Reading the one-line diagram like a foreman
The one-line diagram is the contract between your design and every other party in the process — the plan reviewer, the inspector, the utility engineer, and the apprentice holding the crimper. A complete residential one-line shows the array (module count, string configuration, Voc and Isc per string), the inverter with its model and ratings, every disconnect and OCPD with its ampere rating, the point of interconnection with the 705.12 calculation printed right on the sheet, and the wire schedule with conductor sizes and raceway types. When an inspector finds a discrepancy between the one-line and the installed equipment, the burden is on you to prove the installed version is legal or to change it. Update the drawing when the field changes — a redlined as-built scanned back to the office the same afternoon keeps the permit file honest and the next service call sane.
Staging and the morning rhythm of a clean build

A three-person crew that stages correctly will out-produce a five-person crew that does not. Material lands the day before: racking sorted by roof plane, modules still banded on the pallet until the rails are ready, BOS in a labeled bin, and the inverter inside the garage rather than baking on the driveway. Morning one starts with a ten-minute tailboard — fall protection plan, the day's attachment grid, who owns the torque wrench, where the first-aid kit and the water are. Then attachments go in before anyone carries a module up the ladder. The crew that starts hauling glass at 7:05 because "the roof looks easy" is the crew that is re-flashing three missed rafters at 2:00 while the lead is on the phone with the homeowner. Sequence discipline is free and it pays every single day.
Weather windows and honest scheduling
Northwest builds live and die by the forecast, and pretending otherwise just moves the pain. Composition work is fine down to about 40°F if the shingles are dry; below that, foot traffic scuffs granules and self-seal strips will not activate until a warm day arrives. Wind is the harder limit — a 4x8 module is a sail, and most crews stand down from module handling around 25 mph gusts regardless of what the schedule wants. Rain does not stop attic and inverter-wall work, so smart schedulers bank the interior scope for the wet days. Build one float day per week into winter schedules and tell the customer you did it; the customer who expects float days thanks you, and the customer who was promised sunshine math calls you every time it drizzles.
Communication cadence that prevents the angry email
Most homeowner complaints trace back to silence, not defects. The cadence that works: a confirmation email when permits are submitted, another when the utility application goes in with an honest queue estimate, a scheduling call one week out, a text the evening before the crew arrives, and a walkthrough at completion with the monitoring app installed on the customer's phone before the ladder comes down. Five touches, none longer than ten minutes. The contractor who disappears for four weeks between contract and install day gets one-star reviews even when the roof work is perfect, because the customer's imagination fills silence with worst cases. Our counter sees the difference in the reorder patterns — communicative contractors grow, silent ones churn through marketing budgets replacing the referrals they never get.
The punch list nobody budgets for
Every project has a tail, and the tail has a cost. Smart contractors carry a punch-list allowance of one half-day per residential job, because something always needs a second visit: a monitoring gateway that will not hold its Wi-Fi credentials, a placard that peeled in the first heat wave, a gutter the module edge now overhangs two inches too far for the customer's comfort. Handle the tail fast and the customer remembers responsiveness. Let it age three weeks and the customer remembers neglect, and tells the story with your company name attached at every backyard barbecue for a decade. The economics are brutal and simple: a $200 punch visit protects a referral stream worth twenty times that.
Where storage and generators enter the process
More projects every month arrive with a second technology in scope, and both change the process at specific phases. A hybrid inverter with batteries moves the load analysis earlier — you cannot pick backed-up circuits during rough-in if nobody documented them during design — and it adds NEC 706 and often 702 considerations to the permit set. A standby generator integration adds the transfer equipment conversation and usually a gas/plumbing sub to the schedule. Neither is a reason to panic; both are reasons the design phase earns its money. Our energy storage system primer covers the ESS side, and the whole-home generator sizing guide covers the genset side with real load math.
A note on documentation discipline
The last process habit that separates thriving shops from struggling ones is boring: photograph everything, file it the same day, and name the files so a stranger can navigate them. Every attachment before the modules cover it, every string landing with the label visible, every torque-marked lug, the open panel before and after the backfeed breaker, the final placard row. Two hundred photos costs the crew twenty minutes across the whole job. Those photos have settled warranty disputes in our customers' favor, defended workmanship claims they never would have remembered unaided, and sold the next job on the street when the neighbor asked what a proper install looks like. The camera is the cheapest insurance policy in the truck.
Run the process this way — paperwork as critical path, staging before speed, inspectors as allies, the first year as part of the job — and the solar panel installation process stops being a gamble and becomes what it should be: a repeatable craft with predictable outcomes for the contractor and the customer alike.
And when the inevitable oddball arrives — the detached shop that needs a trenched feeder, the Spanish-service panel with no spaces, the customer who wants EV charging in the same permit — do not improvise the process around it. Extend it. Our EV charging cost guide covers the load-calc side of adding a charger to a solar permit, and trenching, subpanels, and service work each get the same assessment-design-permit discipline as the array itself. The process scales. Shortcuts do not.
Keep this sequence taped inside the gang box lid. The apprentices will memorize it by the third job, the homeowners will recognize competence when they see it, and the inspectors will start greeting your crews by name — which, in this trade, is the closest thing there is to a five-star review that pays.
Frequently asked questions
What are the steps of the solar panel installation process in order? Site assessment and usage analysis, system design with string sizing, permits and utility interconnection application, procurement and staging, racking and module installation, electrical rough-in, grounding and labeling, then inspection, commissioning, and permission to operate.
How long does the whole process take from contract to PTO? Six to twelve weeks is typical for residential. Physical construction is only two to five days; permits and utility review consume most of the calendar, which is why filing paperwork early matters more than crew speed.
What is string sizing and why does it matter? String sizing sets how many modules connect in series per inverter input. NEC 690.7 requires correcting module Voc for record-low temperature so the string can never exceed the 600 V system limit, while the inverter's MPPT window sets the low end on hot days. Both limits must pass.
Do I need a permit to install solar panels? Yes. Building and electrical permits from the local AHJ plus a utility interconnection agreement are required in effectively every US jurisdiction. Unpermitted systems can be denied interconnection, flagged at home sale, and excluded from insurance coverage after a fire.
What happens during the solar inspection? The AHJ inspector verifies attachments, wiring methods, conductor sizes, grounding and bonding, rapid shutdown function, disconnects, and labeling against the approved plan set. The utility may witness commissioning separately before issuing permission to operate.
Can the installation process be done in winter? Yes, with weather float days built into the schedule. Composition shingles still seal on the next warm day, modules actually produce better in cold clear air, and contractor calendars are far more open from November through March than in the summer rush.