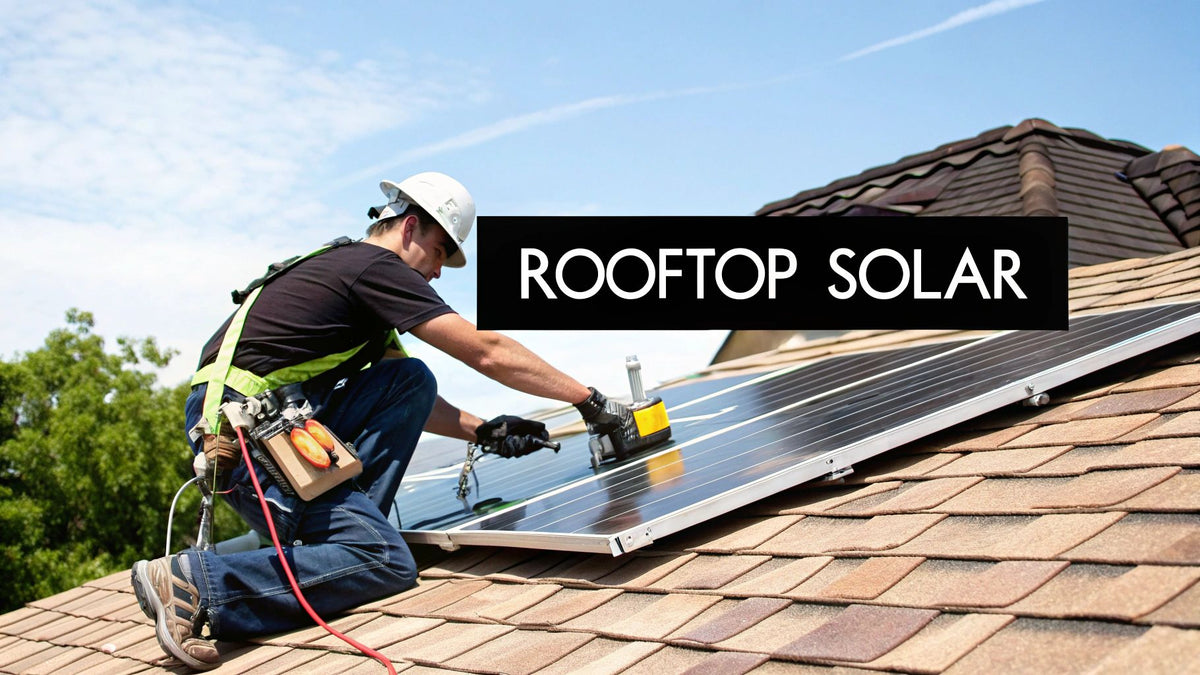
A rooftop solar installation is two projects wearing one harness: a structural project that hangs a few thousand pounds on a roof for twenty-five years, and an electrical project that lands a new generation source inside a code framework with teeth. We supply both sides of that job — panels, racking, inverters, wire, and BOS — and the installs that go well share a sequence: assess honestly, design completely, permit before buying, and commission with a checklist instead of a shrug. This guide walks that sequence the way professional crews run it.
Two honest boundaries up front. First, this is a professional-grade guide for contractors, serious DIYers with real construction experience, and owners who want to supervise knowledgeably — rooftop electrical work involves fall hazards and lethal voltages, and the sections on safety are requirements, not suggestions. Second, your AHJ's adopted codes and your utility's interconnection rules govern; treat this as the map and them as the law. Everything here — the sizing math, the torque habits, the inspection checklist — is drawn from the side of the counter where we watch which installs come back as problems and which never come back at all.
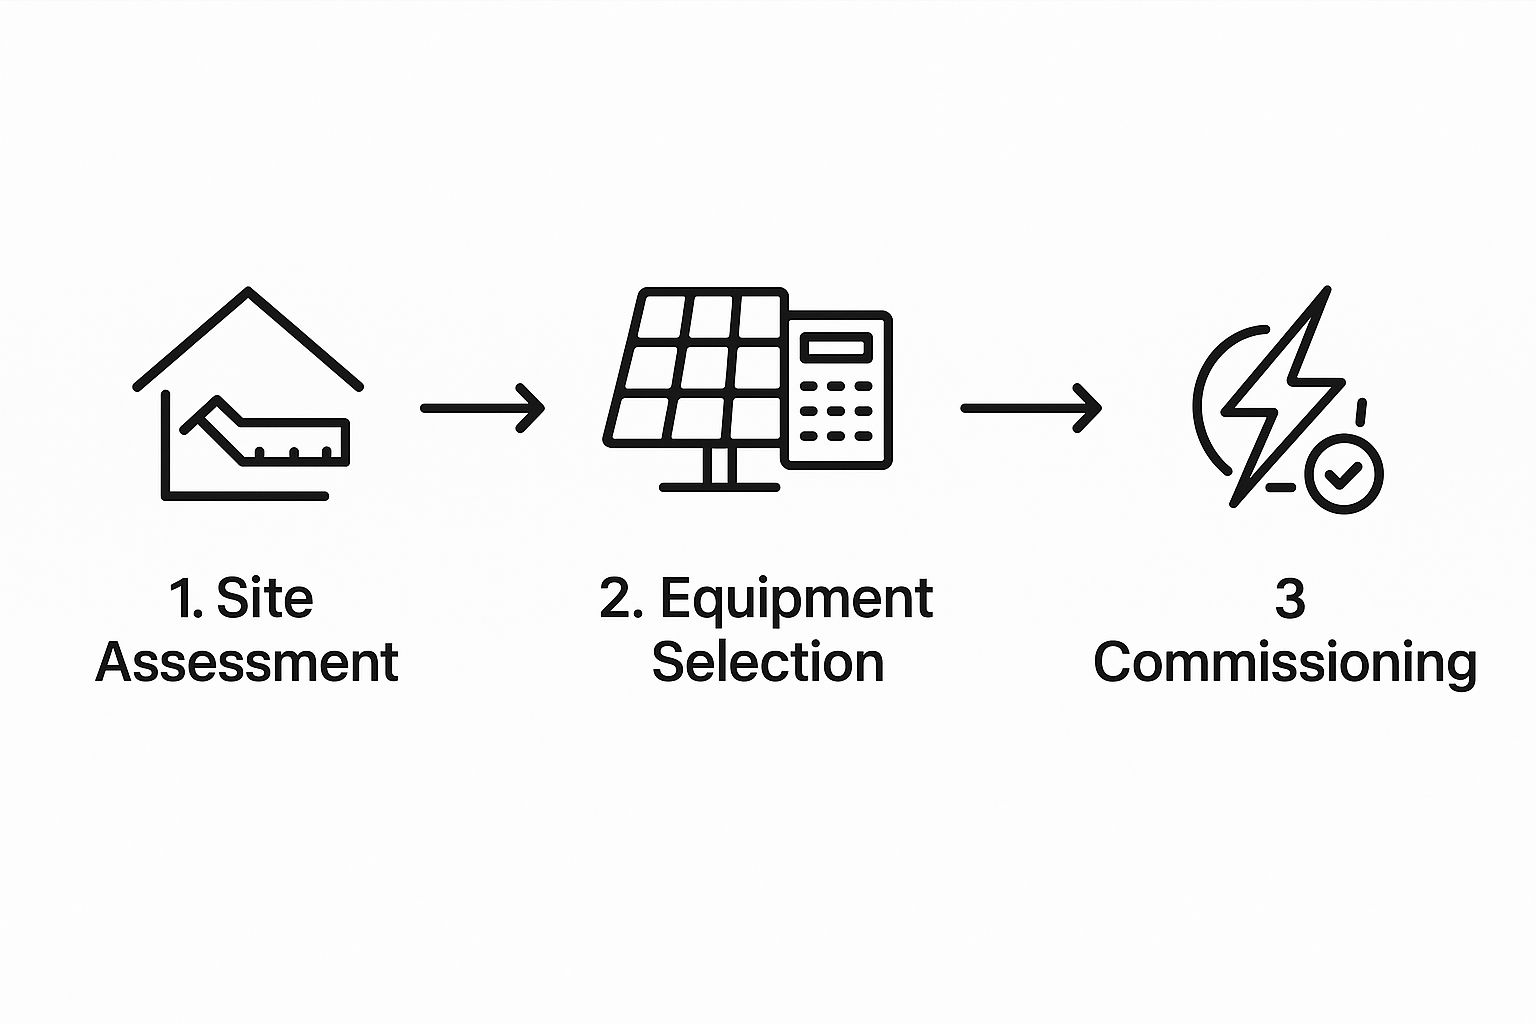
The Project Lifecycle at a Glance
Every rooftop job, residential or light commercial, moves through the same stages. The durations below are what we see on real projects — plan to them, not to optimism:
| Stage | Typical duration | Critical output |
|---|---|---|
| Site assessment | 1–3 days (plus shading analysis time) | Go/no-go on structure, orientation, shade, and service |
| Design and engineering | 1–3 weeks | Array layout, string design, structural attachment plan, single-line diagram |
| Permitting and utility interconnection application | 2–8 weeks (jurisdiction dependent) | Approved permit and interconnection agreement |
| Procurement | 1–4 weeks | All equipment staged before mobilization |
| Mechanical installation (racking + modules) | 1–3 days for residential crews | Weatherproofed, torqued, inspected structure |
| Electrical installation | 1–2 days | Strings, inverter, disconnects, monitoring — ready for inspection |
| Inspection and utility PTO | 1–6 weeks | Permission to operate — the system stays off until this lands |
The two stages that surprise first-timers: permitting runs longer than construction on most residential jobs, and the utility's permission-to-operate (PTO) clock starts only after inspection passes. A crew can build a system in three days; the paperwork around it takes two months. Anyone who promises otherwise is selling something.
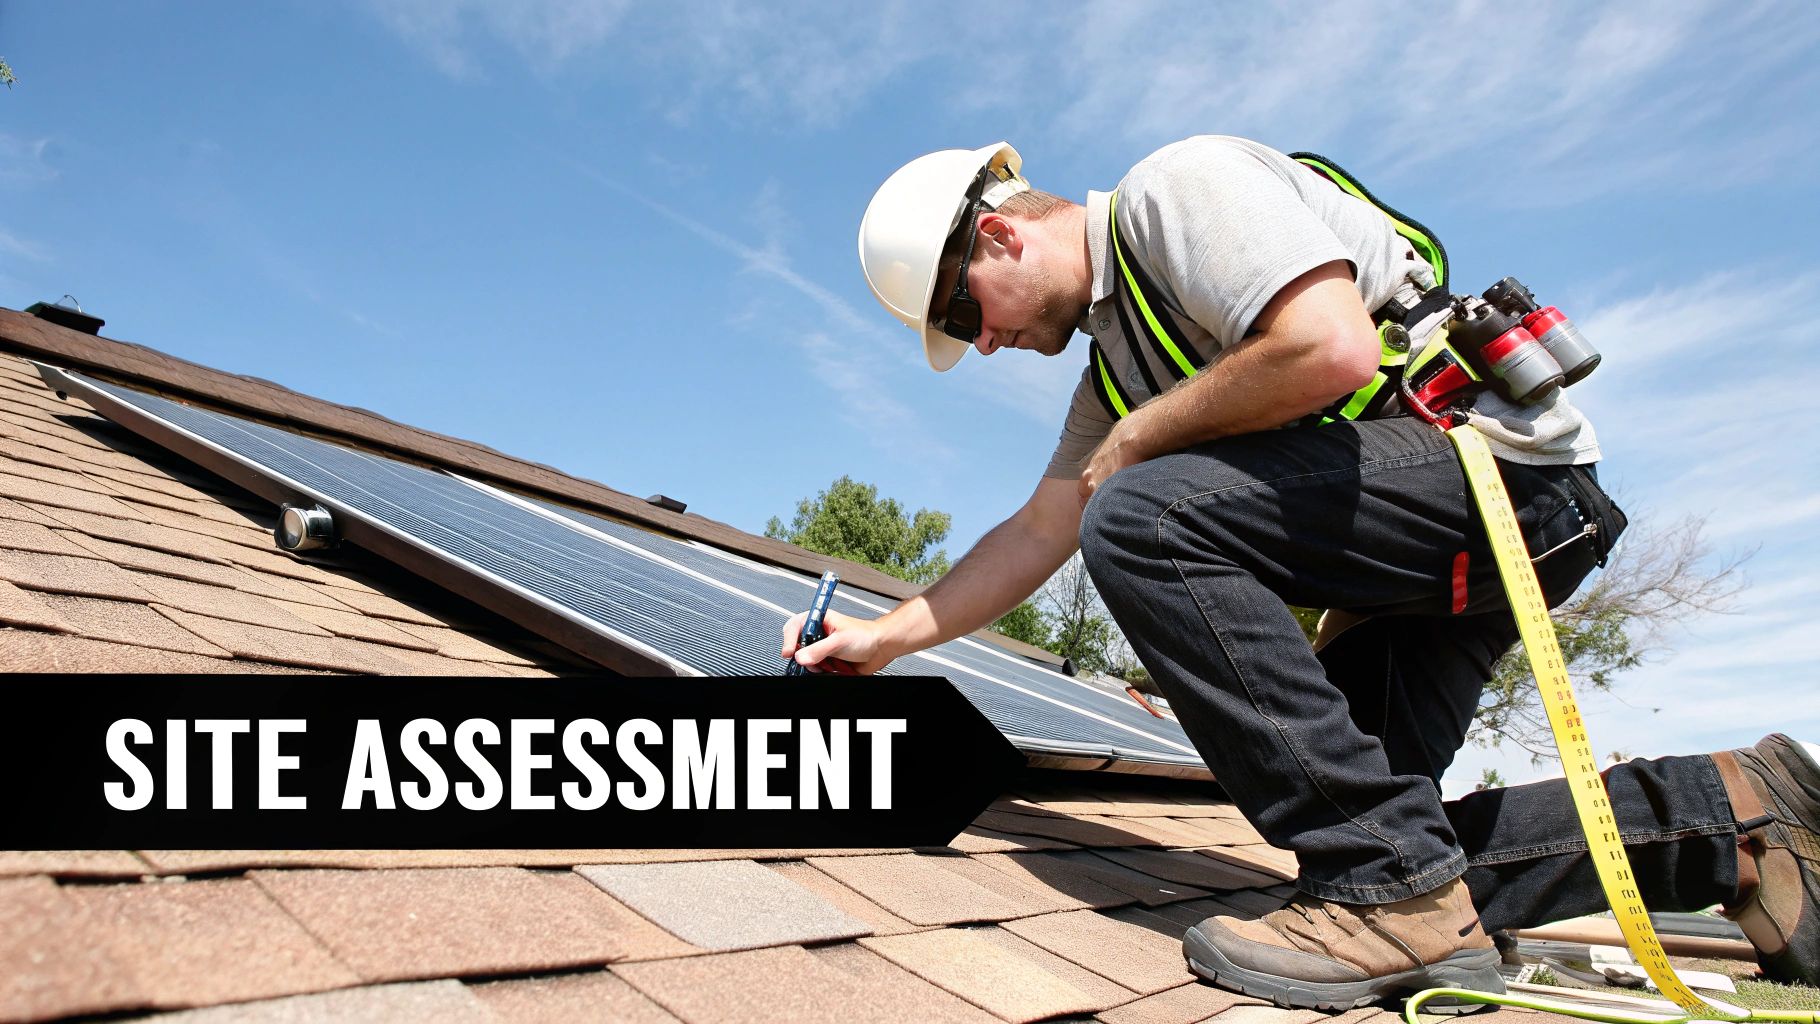
Stage 1: The Site Assessment
Structural honesty first
The roof decides whether there is a project. Check: remaining roof life (a roof with under ten years left gets replaced before panels go on it — removing and reinstalling an array for a re-roof runs thousands of dollars), structural condition of rafters or trusses (sagging, sistered members, and prior repairs all get engineered review), roofing material (asphalt shingle is the easy path; tile, slate, and metal each have attachment-specific methods; wood shake is often a disqualifier), and attic access for the attachment verification below. A typical residential array adds roughly 2.5–4 pounds per square foot distributed load — well within residential design margins on sound structure, and a real problem on compromised one.
Solar access and shading
Production math starts with orientation and shade. South-facing at latitude-appropriate tilt is the textbook optimum, but east/west arrays produce within roughly 15–20% of south and often match consumption patterns better. Shading is harsher: even partial shade on a string system disproportionately cuts output, which is why the shade analysis (Solar Pathfinder, drone-based tools, or satellite tools for screening) happens before design, and why shade-heavy roofs push toward module-level electronics. The solar system size calculator translates roof geometry and consumption into a first-pass system size; the shade study refines it into a real one.
Electrical service check
Confirm the main panel has capacity and breaker spaces for the solar interconnection, and identify the interconnection method — load-side breaker under the NEC 705.12 rules (the 120% rule caps the sum of main breaker plus solar breaker against busbar rating) or a supply-side tap where load-side will not fit. A 200 A panel with a 200 A main allows a 40 A solar breaker under the classic 120% rule (200 × 1.2 − 200 = 40 A); bigger systems need derating, a tap, or a panel decision at design time, not install day. Our bus bar guide explains the panel-side math, and the system components overview maps where each piece lands.
Stage 2: Permitting and Utility Interconnection
The permit package most AHJs expect: site plan with array location and setbacks (fire-code roof access pathways are the item that fails plans most often — typically three-foot pathways at ridges and perimeters per IFC/IRFC provisions as locally amended), structural attachment detail with engineering where required, electrical single-line diagram, equipment cut sheets with listings, and placard/labeling plan. Submit the utility interconnection application in parallel — never sequentially — because the utility clock and the permit clock run independently and you want them overlapping. Our NEC compliance guide organizes the code articles (690, 705, 690.12 rapid shutdown, 690.11 arc-fault) that plan reviewers check.
Stage 3: Equipment Selection and Sizing
A worked residential example
A concrete 8 kW design makes the selection logic tangible:
| Design decision | Example value | The math |
|---|---|---|
| Modules | 20 × 400 W residential format | 20 × 400 W = 8,000 W DC |
| Roof area required | ~430 sq ft usable | 400 W-class panel ≈ 78 × 40 in ≈ 21.7 sq ft; 20 × 21.7 ≈ 434 sq ft plus pathways |
| Inverter | 7.6 kW string or MLPE equivalent | DC/AC ratio 8.0 ÷ 7.6 ≈ 1.05 — conservative; 1.2–1.3 is common with simulated clipping under ~1% |
| String design | 2 strings of 10 | Voc check below |
| Interconnection | 40 A backfed breaker | 7.6 kW ÷ 240 V ≈ 31.7 A continuous × 1.25 ≈ 39.6 A → 40 A breaker; fits the 120% rule on a 200/200 panel |
| Annual production estimate | ~11,200 kWh | 8 kW × 1,400 kWh/kWp regional specific yield |
Every number in that table is checkable arithmetic — run it against your own roof. Equipment categories: panels from the solar panel catalog, inverters from solar inverters, racking from racking and mounting or the packaged roof mount kits, and complete bundles in solar kits for buyers who want the package engineered together.
The cold-weather voltage check (NEC 690.7)
String sizing has a hard safety constraint: open-circuit voltage rises as temperature falls, and the string's worst-case Voc must stay under the inverter's maximum input rating and the 600 V residential limit. The arithmetic with a representative 400 W module (published Voc 49.6 V, Voc temperature coefficient −0.27%/°C, record low −18°C):
| Parameter | Value | Basis |
|---|---|---|
| Module Voc at STC (25°C) | 49.6 V | Datasheet |
| Temperature delta to record low | 43°C below STC | 25°C − (−18°C) |
| Voc correction | 49.6 × (1 + 43 × 0.0027) ≈ 55.4 V | NEC 690.7 temperature correction |
| 10-module string worst-case Voc | 554 V | 10 × 55.4 |
| Limit check | 554 V < 600 V residential limit — PASSES | NEC 690.7 |
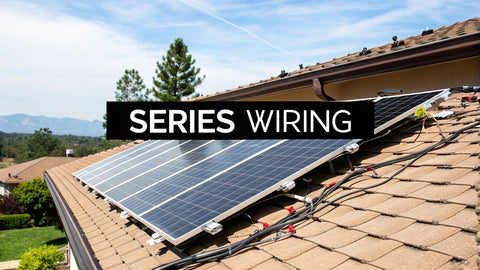
Eleven modules would put the same string at 609 V — a code violation and a smoked inverter input stage on the coldest morning of the year. This is the calculation that separates a design from a guess, and it takes ninety seconds with the datasheet. The panel wiring basics guide covers series/parallel topology in more depth.
Stage 4: Racking — The Structural Decision
System types compared
| Racking type | Attachment method | Strengths | Watch-outs |
|---|---|---|---|
| Rail-based (XR/Unirac class) | Flash + lag into rafters, rails span attachments | Most flexible layout, strongest uplift performance, ubiquitous engineering letters | More parts, more labor |
| Rail-less / direct-mount | Module frames bolt to flashing-mounted brackets | Faster, fewer parts, clean look | Layout constrained to attachment spacing; roof must suit |
| Shared-rail hybrid | Adjacent rows share a rail | Part-count reduction with rail flexibility | Mid-clamp access during service |
| Ballasted (flat roofs) | No penetrations; weight + wind engineering | No roof penetrations | Structural review mandatory; see ballast block guide |
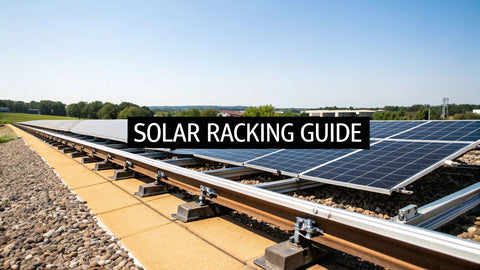
For sloped residential roofs, flashed lag attachments into rafters remain the professional default. The details that keep roofs dry: flashings under the course above, lags centered in rafters (found with a magnet on drywall screws or an attic tape measure — not by thumping), sealant compatible with the roofing material, and torque to the racking manufacturer's letter. Representative published torque values to verify against your specific hardware: lag bolts commonly in the 150–250 in-lb range depending on size and lumber, module clamps commonly 12–15 ft-lb class, rail splices per manufacturer spec. A torque wrench on the roof is not optional equipment; over-torqued clamps crack module frames and under-torqued ones let arrays walk in wind. The racking systems guide compares the major families in more detail.
Stage 5: Mechanical Installation Practice
The crew sequence that works: snap chalk lines from the approved layout; locate, drill, and seal attachments in one pass; set rails and level them (shim where the roof undulates — a wavy rail telegraphs into module stress); stage modules on the roof with a lift or ladder conveyor, never hand-carried up ladders; set and clamp modules row by row with inter-row spacing per the racking manual; and walk the finished array with the torque wrench marking each clamp. Managing the roof as you go — boots on flashings only where necessary, debris magnet-swept daily — is the difference between a solar installation and a roof claim.
Safety is a schedule item, not a poster: OSHA fall-protection rules apply above six feet for construction work, which means harnesses and anchors or guardrails on virtually every residential roof. Anchor points install first, before any material goes up. We have watched a crew member slide twelve feet and stop at a rope grab; the anchor cost forty dollars. Plan for it.
Stage 6: Electrical Installation
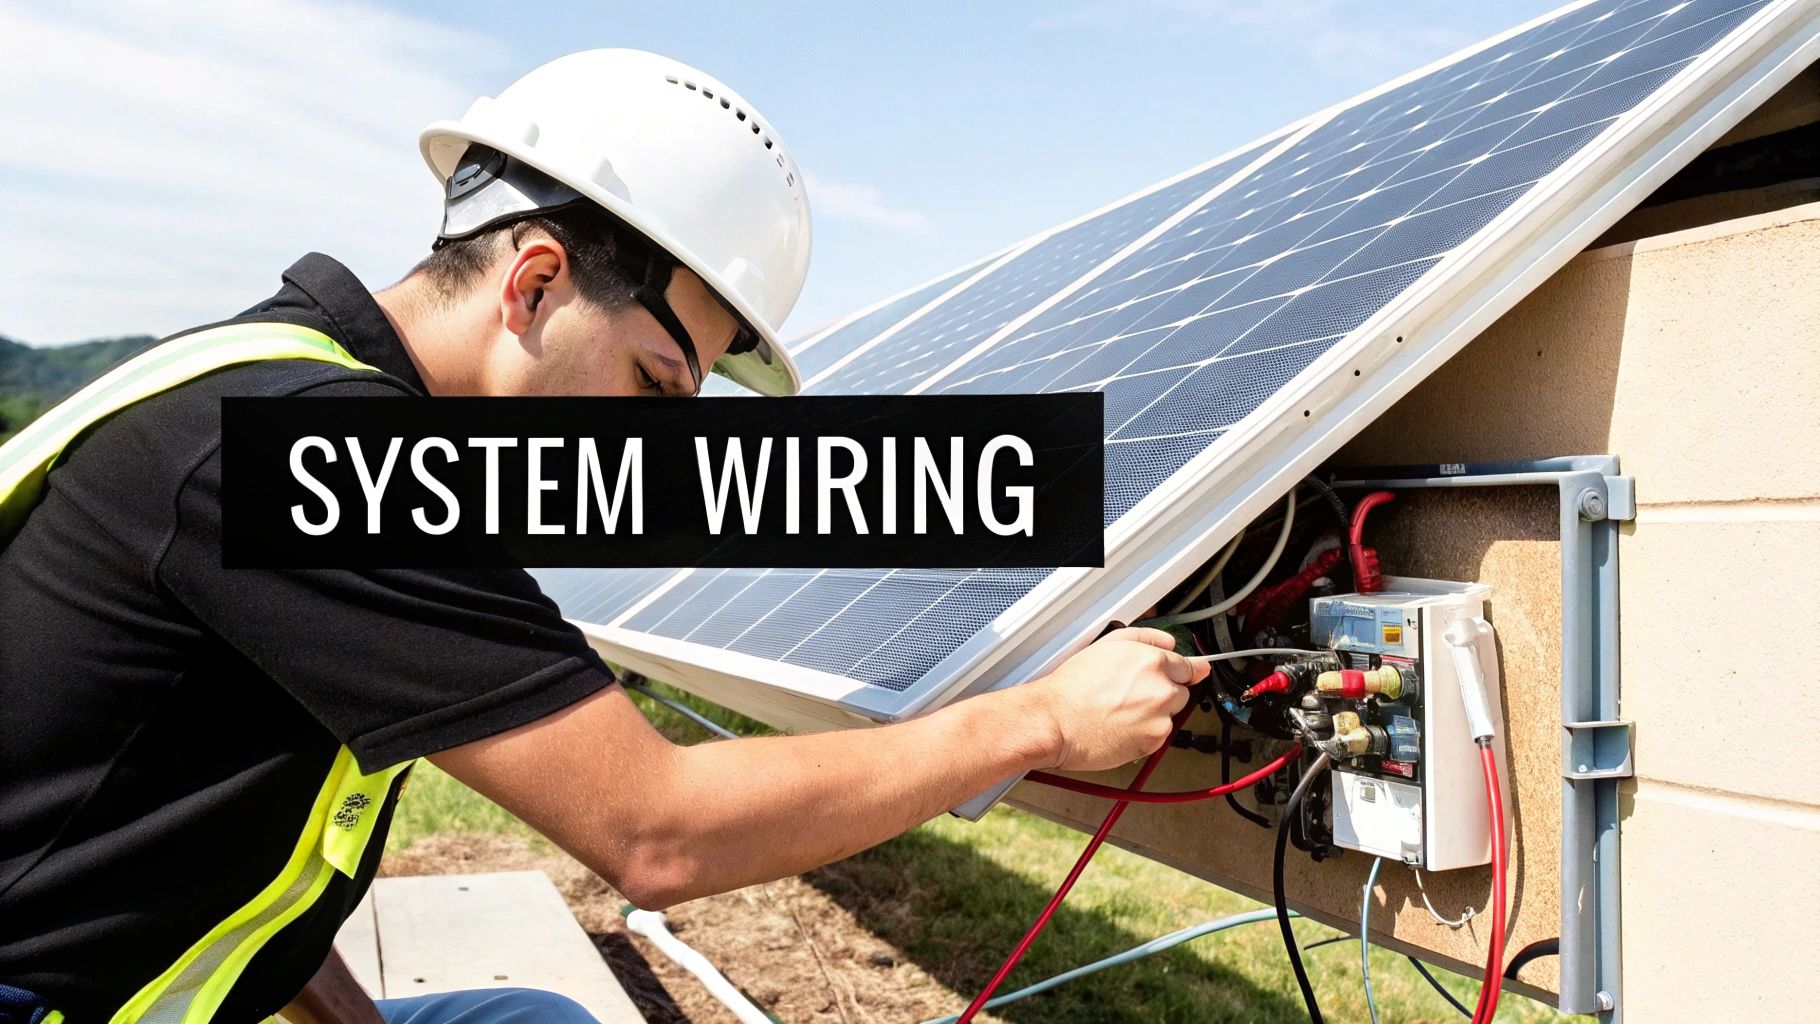
The electrical sequence: route home-run conductors from array to inverter location (PV wire in conduit where exposed, per the wire selection guide; size the raceway from the conduit fill chart), install module-level electronics or rapid-shutdown devices per NEC 690.12, mount and wire the inverter, land the DC and AC disconnects (the NEC 690 disconnect guide covers the requirements), install the production meter or monitoring CTs, ground and bond the entire metallic path per NEC 690.43 and 250 — the grounding and bonding guide is the reference — and label everything: DC circuits, rapid shutdown, interconnection breaker, and the directory placard the AHJ's checklist expects.
Two electrical field notes from support calls: polarity-check every string with a meter before landing it (reversed polarity on a string input is the classic first-install smoke test), and verify rapid-shutdown initiation actually works with a meter before the inspector arrives — initiating device off, conductors inside the array boundary must drop below the 690.12 limits within thirty seconds. Test it yourself before you ask someone else to certify it.
Stage 7: Commissioning and PTO
Commissioning checklist: torque verification across clamps and terminations; string voltage and polarity recorded per string; insulation and ground-continuity tests where specified; inverter power-up, firmware update, and grid-profile configuration per the utility's interconnection requirements (IEEE 1547 settings where required); monitoring verification with per-string or per-module data flowing; and the documented walkthrough with the owner covering shutdown procedure and monitoring access. Then the utility witness or inspection, the AHJ final, and only then PTO and energization. Systems energized before PTO risk the interconnection agreement — the utility takes that seriously even when the homeowner does not.
The Mistakes That Cost Money
Good crews leave the roof cleaner than they found it; great crews leave a folder of photos showing every flashing, every torque mark, and every string reading. That folder is what turns a warranty conversation from archaeology into arithmetic.
From our return tickets and support calls, the recurring failures: attachments missed rafters and landed in sheathing only (the array passes inspection and fails the first real wind); roof attachments without proper flashing (leaks in year two); string voltage never temperature-checked (inverter death on a cold snap); wire management skipped so conductors rest on the roof membrane (abrasion plus inspection failure); monitoring never configured (faults discovered at the true-up bill); and systems switched on before PTO (utility paperwork pain). Each is a thirty-dollar or thirty-minute prevention and a four-figure cure.
One more deserves its own sentence: buying equipment before the permit comes back. Plans change in plan review — a pathway requirement moves the array, a panel limitation changes the interconnection — and equipment bought to the pre-permit design becomes inventory you did not want. Permit first, purchase second, install third. That order has never been wrong.
Roof-Specific Playbooks

Asphalt shingle
The friendly path: flashed lag attachments, standard standoffs, sealant compatible with asphalt. The one rule that prevents leaks: the flashing slides under the course above, and the lag hole gets sealant before the lag, not after. On architectural shingles thicker than 3-tab, account for the extra thickness in flashing selection. Composition shingle roofs under ten years old are effectively plug-and-play; brittle fifteen-year-old shingles crack underfoot and demand slower, lighter crew movement.
Tile (clay and concrete)
Tile work is roofing work with a solar attachment. Standard practice: remove tiles at attachment points, flash and mount to the deck with standoffs, and either replace tiles cut around the standoff or use tile-replacement flashings. Budget broken tiles at 5–10% of disturbed pieces and order replacements before starting — tile profiles discontinue, and a roof full of mismatched replacements is its own problem. Walking technique matters: step on the lower third of tiles near the headlap, or do not walk on them at all; many crews work tile from hooks and planks. Labor on tile runs meaningfully above shingle, and quotes should reflect it honestly.
Standing-seam metal
The elegant case: seam clamps attach without penetration, making metal the fastest racking install and the lowest leak risk. Verify seam profile compatibility with the clamp system and confirm the roof's structural capacity — clamp loads transfer differently than distributed lag loads. Exposed-fastener (corrugated) metal roofs need penetration-based attachment with gasketed fasteners and, ideally, attachment over structure. Metal roofs outlast most arrays, which makes them the best long-term solar host.
Flat commercial roofs
Ballasted or attached racking on membrane roofs requires the roofing manufacturer's involvement: warranty-preserving attachment details, slip sheets under ballast trays, and wind-zone engineering that varies across the roof (corner and edge zones carry higher uplift and more ballast). The structural review is mandatory, not advisory — saturated ballast loads plus ponding margins have collapsed marginal decks. Get the roofer and the structural engineer in the same conversation before the design freeze.
DIY vs. Professional: The Honest Economics
Owner-installed residential solar can save the labor line — typically 10–20% of turnkey cost — but the honest ledger includes the other side: wholesale equipment access helps (our catalog sells direct for exactly this reason), while engineering stamps, permit running, utility paperwork, and the commissioning learning curve all consume weekends. The pattern we see succeed: owners with construction backgrounds doing mechanical work with professional design documents, and licensed electricians landing the electrical and interconnection scope. The pattern we see fail: full-DIY grid-tie attempts that stall in the interconnection queue because the paperwork was nobody's job. Decide who owns the paper before anyone buys a panel.
Install Day: A Crew Walkthrough
What a well-run residential install day looks like, hour by hour. First hour: crew lead walks the roof plan with the owner, anchors and safety lines go up, material lift starts. Hours two to four: attachments located, drilled, flashed, sealed, and torqued; rails set and leveled; the roof looks like a grid by lunch. Hours four to six: modules staged and clamped row by row, home-run conductors dressed and clipped off the roof surface, inverter and disconnects mounted at the wall. Final hours: terminations, string voltage and polarity checks recorded per string, rapid-shutdown function test, site cleanup with a magnet sweep, and the owner walkthrough covering the shutdown procedure. One day for straightforward systems, two to three when tile, multiple arrays, or long wire runs stretch the work. A crew that finishes the day with recorded string voltages and photos of every flashing has built something inspectable; a crew that rushes to energize has built something to troubleshoot.
After the Install: The Ownership Handoff
Closeout paperwork is part of the system. Register module and inverter warranties within the manufacturer windows — typically thirty to ninety days — because unregistered equipment can default to shorter coverage. Archive the permit card, inspection sign-offs, interconnection agreement, as-built layout, and string-voltage commissioning record in one folder; that folder is what a home sale, an insurance claim, or a warranty case will ask for. Then build the monitoring habit: monthly production review against expectation, alerts configured so faults page you instead of waiting for the true-up bill. The systems that produce for twenty-five years are the ones whose owners look at the dashboard. That sounds like a slogan; the return-ticket data says it is a statistic.
Wire Management: The Detail That Ages the System
Conductors on a rooftop live in the harshest microclimate on the property — UV, thermal cycling, wind movement, and abrasion against shingles. The professional standard: PV wire or USE-2 for exposed runs, clipped to rail or module frames with UV-rated clips every couple of feet, never resting on the roof surface, never crossing ridge caps where foot traffic goes, and transitioning into conduit before entering penetrations. Slack loops at module edges absorb thermal movement; zip ties without UV rating become litter within three summers. Inspectors increasingly walk roofs specifically to look at wire management, and twenty-five-year system life depends on details the listing sheet never mentions. Budget the clips and the time; it is the cheapest longevity insurance in the build.
When the Roof Should Lose: The Ground-Mount Comparison
Rooftop is the default, not the destiny. Ground mounting beats the roof when the roof is shaded, structurally marginal, multi-planed into string-design misery, or due for replacement inside the array's life; when the site has open land with better solar access; and when cleaning and maintenance access matter (agricultural and snow-country sites). Ground mounts cost more in racking and trenching — roughly 10–25% more all-in at residential scale — and return it in production when the roof was compromised. Our 24-panel ground-mount kit is the packaged version of that decision. The point for this guide: the assessment stage should genuinely consider the ground option, because retrofitting regret after a rooftop build costs multiples of choosing correctly the first time.
What the Budget Actually Looks Like
Residential rooftop budgets decompose predictably. Representative structure for the 8 kW example system, equipment plus professional installation:
| Budget line | Typical share of turnkey cost | What moves it |
|---|---|---|
| Modules | 20–30% | Wattage class, brand tier, market cycle |
| Inverter and MLPE | 10–15% | Architecture choice; micro/optimizer premium |
| Racking and attachments | 8–12% | Roof type; tile and metal premiums |
| Electrical BOS (wire, conduit, disconnects, breakers) | 8–12% | Run lengths, interconnection method |
| Labor | 10–20% | Roof complexity, crew market |
| Permits, engineering, interconnection fees | 3–8% | Jurisdiction; structural stamps |
| Overhead, margin, soft costs | 15–30% | Business model; the DIY-addressable portion |
Read the table the way an estimator does: the equipment lines are shoppable — that is the part our catalog prices transparently — while labor and soft costs reward good design more than aggressive shopping. A clean design on a simple roof compresses the expensive lines; a complicated roof spends them no matter who supplies the panels.
Weather, Seasons, and Scheduling
Roof work schedules around weather in ways the calendar does not show. Wind is the binding constraint — module handling above roughly 20 mph gusts stops disciplined crews, because a 22-square-foot panel is a sail with corners. Extreme heat shifts work to mornings; module frames at 140°F burn hands and slow everything. Rain stops roofing-adjacent work entirely, and snow-country installs target the shoulder seasons deliberately. The scheduling lesson for owners and contractors alike: build float into the install window, and never let a weather delay compress the torque-and-inspection discipline at the end of the job. Rushed endings are where missed flashings and unrecorded string voltages come from.
Passing Inspection the First Time
The failure items that dominate residential solar inspection reports, and their preventions: missing or incorrect labeling (placards at the service equipment, rapid-shutdown labels, directory entries — print the label set from the design package before install day); conductor size or insulation type mismatched to the permit documents (order changes must flow back to the permit); rapid shutdown untested or non-functional (test with a meter, on video, before calling for inspection); roof pathways encroached by the array (the layout must respect the fire-code access dimensions the permit drawings showed); and grounding/bonding gaps at rail splices and module frames (bonding hardware per the racking system listing, verified with the torque pass). None of these are technical challenges. All five are checklist items, and crews that run the checklist pass first inspection at rates that keep the PTO clock short.
Inverter Placement: The Decision Inside the Decision
Where the inverter lands on the wall affects production and service life for decades. The placement rules that hold up: shade beats sun — a west-facing wall in full afternoon sun cooks power electronics and accelerates thermal derating, so north walls and shaded garage interiors earn their keep; clearance per the manual is a warranty issue, not a courtesy, because restricted airflow voids the thermal design; service access matters more than aesthetics, since the unit will be read, reset, and occasionally replaced by someone standing in front of it; and conduit runs should be short, but not at the cost of violating the previous three rules. Garages are the common answer for string inverters — conditioned-ish, shaded, accessible — with the caveat that vehicle paths require the same impact-protection thinking as any wall-mounted electrical equipment. Five minutes of placement planning is the cheapest efficiency measure available to the entire project.
The Long View: Owning What You Built
A rooftop array is a 25-to-30-year asset bolted to a 15-to-30-year roof, and ownership works best when the install day is treated as year zero of a record, not the end of a project. Keep the closeout folder current as equipment changes; photograph the array after any roof work near it; note every service event with dates and meter readings. When warranty questions arrive — and across three decades, something always arrives — the documented system gets the fast resolution. That discipline is the last professional habit this guide recommends, and it costs nothing but the folder.
Frequently Asked Questions
How do I know if my roof is a good candidate for solar?
Ten-plus years of roof life remaining, sound rafters or trusses, mostly unshaded area with reasonable orientation, and enough panel capacity to interconnect. A professional assessment answers all four in one visit; the structural and shade answers are the two that actually kill projects.
How long does a rooftop installation take?
Construction runs one to three days for a typical residential system with an experienced crew. The project around the construction — design, permitting, utility interconnection, inspection, PTO — runs six to sixteen weeks depending on jurisdiction. Plan to the paperwork, not the tools.
What is the difference between string inverters and microinverters for rooftop installs?
String inverters centralize conversion at one wall-mounted unit; microinverters convert at each module. Micros win on shaded or multi-orientation roofs and simplify rapid-shutdown compliance; strings win on cost and service simplicity for clean roofs. The current inverter lineup guide walks the decision.
Do solar panels damage the roof?
Properly flashed, torqued attachments into rafters do not damage roofs — they outlast the roofing around them. Damage comes from missed rafters, skipped flashing, and foot traffic on fragile materials. The racking manufacturer's installation letter and a torque wrench are the protection.
What maintenance does a rooftop system need?
Monitoring review monthly, visual inspection annually (wire management, flashing condition, clamp torque spot-checks), cleaning where soiling justifies it, and vegetation management to protect the shade study's assumptions. Panels are close to maintenance-free; the roof under them is not.
Can I install rooftop solar myself?
Some jurisdictions permit homeowner electrical work; many require licensed contractors for grid interconnection, and utilities commonly require it regardless. The mechanical work is within reach of a skilled DIYer with proper fall protection; the electrical and interconnection work usually is not, legally or practically. Hybrid approaches — owner mechanical, electrician electrical — exist where the AHJ allows.