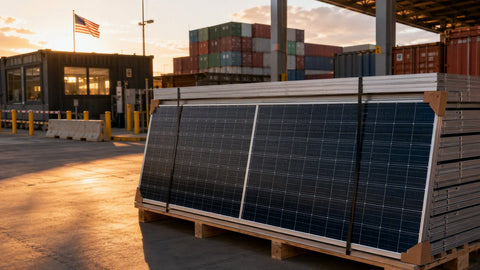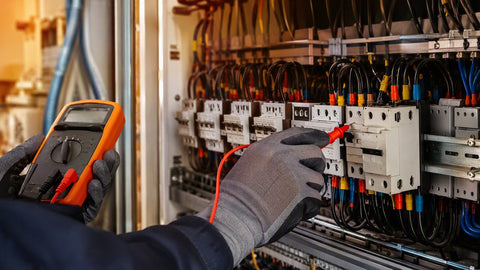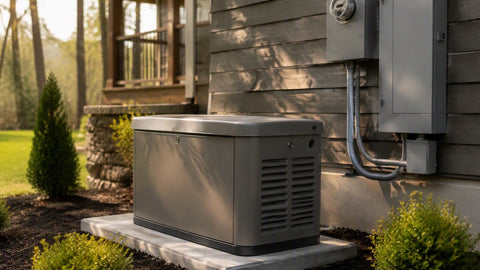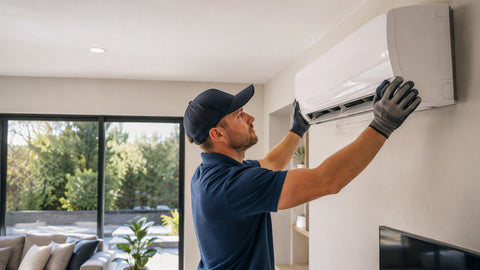
I've been on more than a hundred rooftops in the Pacific Northwest, and the jobs that go sideways almost never fail because of the panels. They fail because somebody skipped a step in the first two weeks — a missing rafter map, an undersized homerun, an interconnection application filed with the wrong service voltage. This guide walks the full solar panel installation sequence the way we actually run it at Portlandia Electric Supply, from the first ladder climb to the day the utility flips permission to operate. It is written for licensed electricians, NABCEP-track installers, and homeowners who want to understand exactly what a competent crew does on their roof.

Everything below references the 2023 NEC, which most AHJs in Oregon and Washington have adopted, and the equipment categories we stock and ship daily. Where a number comes from the code book, I cite the article. Where it comes from a datasheet, I say so. Verify both against your jurisdiction and your specific bill of materials before you torque a single bolt.
Step 1: Site assessment before anything ships
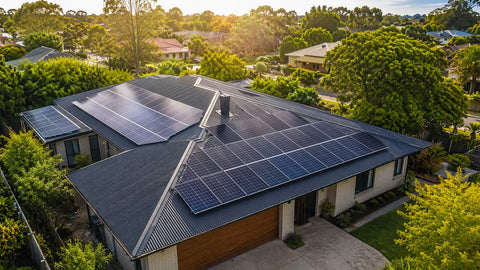
A real site assessment is not a satellite image and a sales quote. It is a tape measure, a shade analysis, an attic crawl, and a panel schedule. On the roof you are measuring usable area in rectangles, not total square footage — setbacks from ridges, hips, and eaves eat 15 to 25 percent of what looks available from the ground. Most AHJs require a 3-foot clear pathway at the ridge and access lanes per the fire code (IFC 605.11 in most adopted editions), so draw those lanes first and fit modules into what remains.
In the attic you are confirming rafter size, spacing, and span. A 2x6 at 24 inches on center spanning 12 feet is a very different conversation than 2x10s at 16 inches. I have walked away from jobs where the roof was already carrying two layers of comp and a skylight addition nobody permitted. Check the decking from below for water staining around old penetrations — that is where your new attachments will leak if you reuse the neighborhood.
On the electrical side, open the main panel and record the bus rating, main breaker rating, and available spaces. The 120 percent rule in NEC 705.12(B)(2)(3) decides how much solar you can backfeed: a 200A bus with a 200A main allows up to 40A of solar breaker; a 200A bus with a 175A main allows 65A. If the number does not work, you are pricing a main breaker derate, a supply-side tap per 705.12(A), or a service upgrade before you sell anything. Our service upgrade walkthrough covers that path, and the system size calculator translates the customer's kWh usage into a target array size.
Step 2: Design, string sizing, and the paperwork pile
String sizing is where math errors become warranty claims. The two limits are NEC 690.7 (maximum system voltage, corrected for record-low temperature) and the inverter's MPPT window. Use the module's open-circuit voltage and temperature coefficient from the datasheet — not a rule of thumb. Here is a worked example with a modern 400W residential module:
| Parameter | Value | Source |
|---|---|---|
| Module Voc (STC) | 45.0 V | Datasheet |
| Voc temperature coefficient | -0.28 %/°C | Datasheet |
| Design low temperature | -10 °C (Portland extreme minimum) | ASHRAE / NEC 690.7 Table |
| Correction factor | 1 + (25 − (−10)) × 0.0028 = 1.098 | Calculation |
| Cold-corrected Voc per module | 45.0 × 1.098 = 49.4 V | Calculation |
| Max system voltage | 600 V (residential, NEC 690.7) | Code |
| Max modules per string | ⌊600 ÷ 49.4⌋ = 12 | Calculation |
| Cold string voltage at 12 modules | 12 × 49.4 = 592.9 V ✓ | Verification |
Then check the floor: the string's hot-weather Vmp must stay inside the inverter MPPT range at high cell temperature. A 12-module string with Vmp of 37.5 V each sits at 450 V nominal and roughly 400 V on a 95°F roof with cells running 30°C above ambient — comfortably inside a typical 125–450 V hybrid inverter window. Run this check for every string, every time. The wiring basics article covers series-versus-parallel behavior in more depth.
Permits come next: building/electrical with the AHJ, interconnection with the utility, and sometimes HOA review. In Oregon, residential PV permitting is largely standardized, but utilities still want a one-line diagram, spec sheets, and a site plan showing the rapid shutdown initiation device. Budget two to six weeks for utility review; submit the day the design freezes, not after the equipment lands.
Step 3: Racking and roof attachments
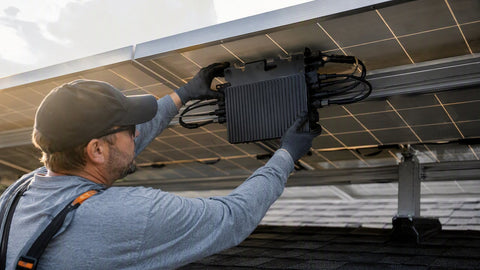
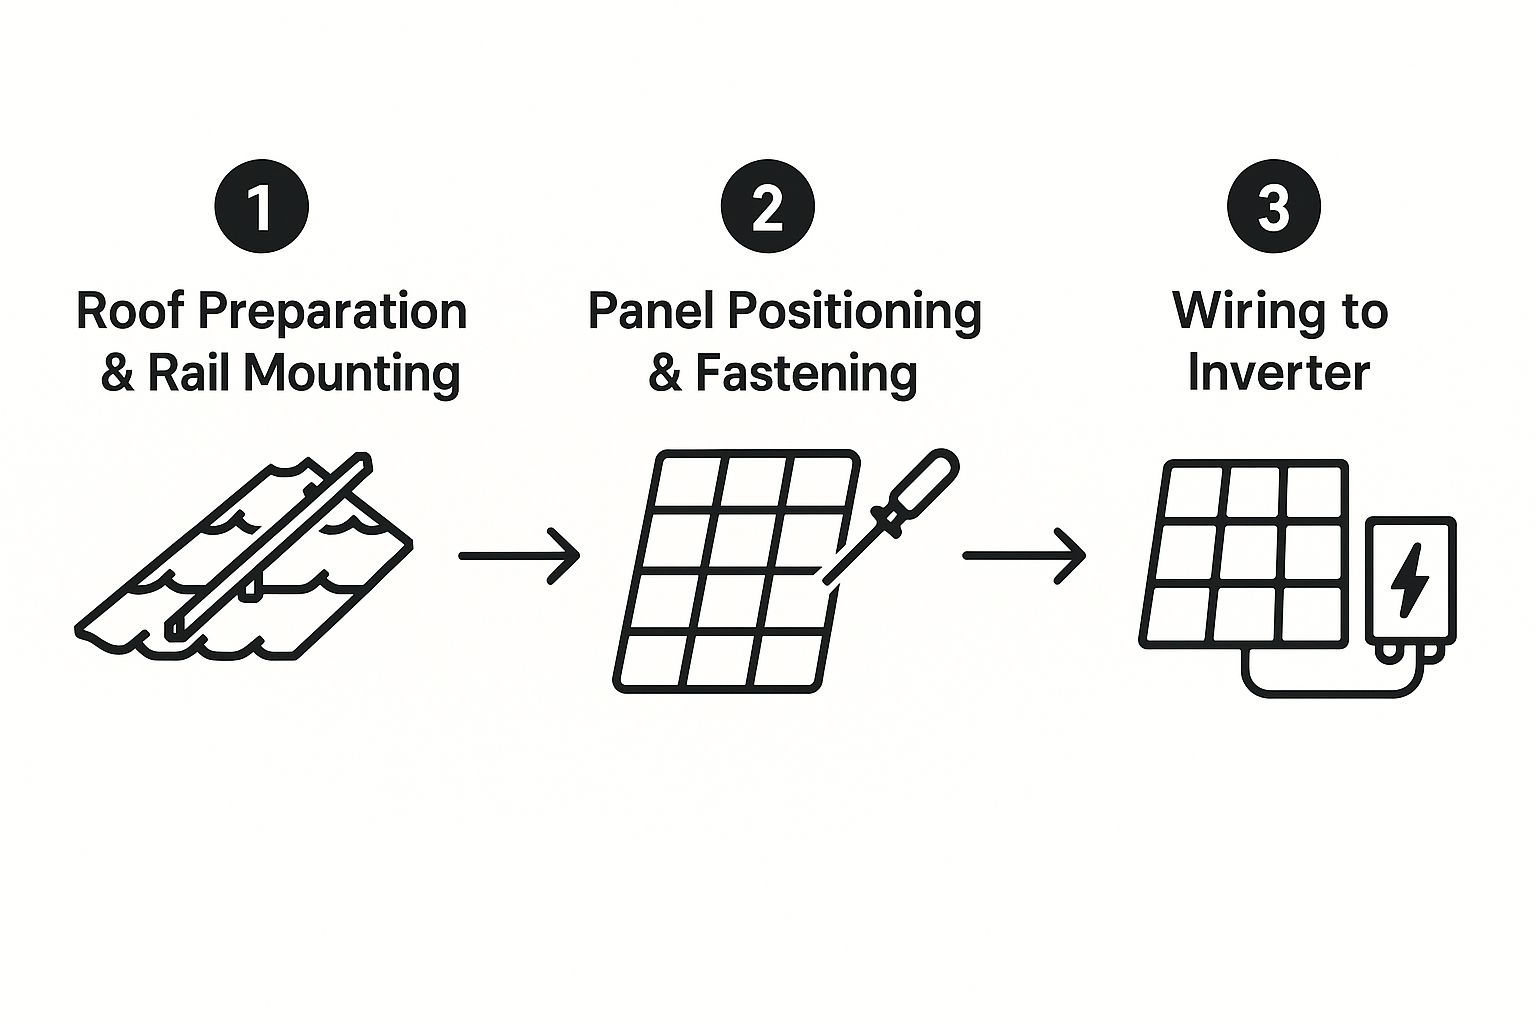
Flashing first, rails second, always. Every attachment gets a flashed standoff or an integrated-flash mount torqued into a rafter — not the decking between rafters. I use a stud finder and a chalk line from the attic when access allows; from above, I verify with a small pilot hole and a wire probe before committing a row. Missed rafters are the number-one cause of call-back leaks I get asked to diagnose on other crews' work.
Torque is a specification, not a feel. Most residential rail systems publish fastener torque in the 10–20 ft-lb band, and over-torquing an L-foot into doug fir strips the threads you just paid for. Typical values we see on engineering documents:
| Connection | Typical specified torque | Notes |
|---|---|---|
| Lag bolt, 5/16 in, into rafter | Per mount ESR, commonly snug + quarter-turn with impact limited | Many manufacturers now forbid impact drivers on final set |
| Rail splice bolts | 10–15 ft-lb | Verify against rail vendor manual |
| Module mid/end clamps | 10–15 ft-lb | Under-torque is a wind-uplink failure; over-torque cracks frames |
| Bonding clamps / WEEB-style hardware | Per listing, commonly 10–12 ft-lb | Must remain accessible for inspection |
| Ground lug on rail | Per lug marking, typically 35–45 in-lb | Wire-brush anodized rail at lug point unless hardware is listed for it |
Set rails square to the roof edge, leave the thermal expansion gap the splice manufacturer specifies (usually 1/4 inch per rail segment), and keep rail cantilever inside the engineered limit — typically one-third of the max span. Our racking systems overview compares rail, rail-less, and shared-rail hardware if you are still choosing a platform.
Step 4: Wiring the array to code
Module leads land in strings, strings land in either module-level power electronics or a homerun to the inverter. For homeruns in conduit we pull THHN-2 90°C copper; for exposed runs on the racking we use listed PV wire. The difference matters — insulation type, sunlight resistance, and burial ratings are not interchangeable. The PV wire vs USE-2 vs THHN guide breaks down where each is legal.
Ampacity starts at NEC 310.16, then PV multipliers stack on top: 690.8(A)(1) takes maximum circuit current at 125 percent of Isc, and 690.8(B)(1) applies another 125 percent continuous multiplier — effectively Isc × 1.56 before temperature and conduit-fill corrections. Common copper ampacities at the 75°C and 90°C columns:
| Copper AWG | 75°C ampacity (THHN-2 termination-limited) | 90°C ampacity (PV wire, derating base) | Typical PV use |
|---|---|---|---|
| 14 | 20 A | 25 A | Short strings, legacy modules |
| 12 | 25 A | 30 A | Standard residential string wire |
| 10 | 35 A | 40 A | High-current strings, parallel pairs |
| 8 | 50 A | 55 A | Combined output circuits |
| 6 | 65 A | 75 A | Inverter AC output, small feeders |
| 4 | 85 A | 95 A | Feeders, larger inverter output |
| 2 | 115 A | 130 A | Subpanel feeders |
| 1/0 | 150 A | 170 A | Service-level taps |
| 4/0 | 230 A | 260 A | Large services, supply-side taps |
Pull the homerun through EMT on the roof where it is exposed to physical damage, and respect conduit fill. NEC Chapter 9 Table 1 caps fill at 40 percent for three or more conductors; for THHN-2 in EMT the practical counts from Chapter 9 Table 4 / Annex C are:
| EMT trade size | Max 12 AWG THHN-2 (40% fill) | Max 10 AWG THHN-2 (40% fill) |
|---|---|---|
| 1/2 in | 9 | 5 |
| 3/4 in | 16 | 10 |
| 1 in | 26 | 16 |
| 1-1/4 in | 43 | 27 |
Remember that rooftop conduit in sunlight also takes a temperature adder under 310.15(B)(3)(c) — up to 22°C over ambient for conduit within 7/8 inch of the roof surface — so elevate the raceway on standoffs and size conductors with the adder applied. The conduit fill chart and the NEC wire sizing guide are the two references our counter staff print most often for installers.
Step 5: Inverter, disconnects, and overcurrent protection
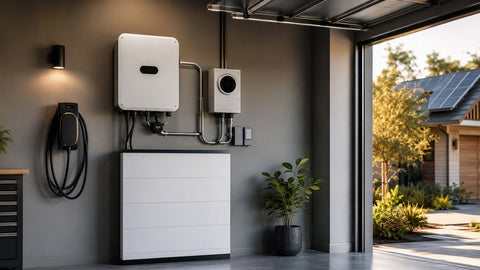
Mount the inverter where the datasheet says it can breathe — shaded wall, clearances honored, and within the ambient temperature rating. String inverters and hybrids belong on a structurally sound wall at a height the homeowner can actually read; a 60-pound hybrid at six feet is a two-person lift and a bad back waiting to happen. We stock 10–12 kW hybrid inverters for the most common whole-home residential builds, and our hybrid inverter explainer covers how they differ from straight string units.
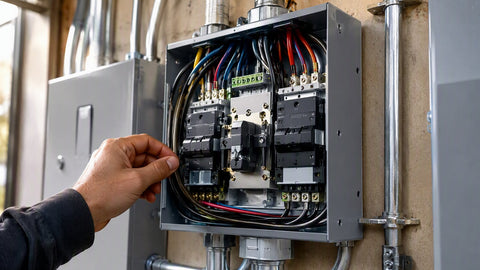
Overcurrent protection follows NEC 240 and the 690.9 requirements for PV source and output circuits. Standard breaker ratings come from 240.6(A) — 15, 20, 25, 30, 35, 40, 45, 50, 60, 70, 80, 90, 100 A and up — and you round up to the next standard size only within the rules of 240.4(B). The PV system disconnect (690.13–690.15), the rapid shutdown initiation device (690.12), and any supply-side connection hardware each need labeling per 690.55 and 705.10. Our disconnect and OCPD guide walks the device selection, and the surge protection guide covers the Type 1/Type 2 SPD that lightning-prone sites should never skip.
Step 6: Grounding, bonding, and the mistakes I keep seeing
Equipment grounding ties every rail, module frame, and metallic raceway back to the premises grounding electrode system per NEC 690.43 and Article 250. Use listed bonding hardware between module and rail; do not rely on anodized aluminum contact. The EGC is sized per 250.122 off the OCPD, and where you run a ground electrode conductor at the array for lightning protection it does not replace the EGC — they do different jobs. The deep dive is in our grounding and bonding guide.
The repeat offenders I find on inspections: EGC spliced with a wire nut inside a rain-tight box instead of a listed lug; rails bonded in some rows but not others because the crew ran out of bonding clamps; and a GEC landed on a water pipe three feet from where the panel schedule says it should land. None of these are exotic. All of them will get you red-tagged.
Step 7: Commissioning, inspection, and permission to operate
Before the AHJ inspector arrives, commission the system yourself: verify string polarity and Voc against the design, torque-check accessible terminations, confirm rapid shutdown operates from the initiation device, and label everything the plan set promised. Then the utility witness (where required) and finally PTO. Do not energize before PTO — utilities do revoke interconnection agreements over it.
| Phase | Typical duration | Who signs off |
|---|---|---|
| Site assessment & design | 1–2 weeks | Designer / engineer of record |
| Permits & utility interconnection application | 2–6 weeks | AHJ + utility |
| Racking & module install | 1–3 days (residential crew of 3–4) | Crew lead |
| Electrical rough-in & inverter set | 1–2 days | Licensed electrician |
| AHJ inspection | 1 day + scheduling | Inspector |
| Utility witness & PTO | 1–4 weeks after inspection | Utility |
What a residential install actually costs
Material cost is the piece we control at the supply house, so here is an honest component-level picture for a typical 8 kW residential rooftop (twenty 400W modules, hybrid-ready string design):
| Component | Typical share of material cost | Notes |
|---|---|---|
| Modules (20 × 400W class) | 30–40% | See our 400–459W panel selection |
| Inverter / hybrid | 15–25% | Hybrid adds battery readiness; see inverter picks |
| Racking & attachments | 10–15% | Flashed standoffs cost more, leak less |
| Wire, conduit, disconnects, BOS | 10–15% | Where cheap bids cut corners |
| Rapid shutdown / MLPE | 5–15% | Required by 690.12 on roofs |
| Permits, engineering, misc. | 5–10% | Varies widely by AHJ |
Full turnkey residential pricing nationally runs roughly $2.50–$3.50 per watt before incentives, and our commercial cost breakdown shows how the economics shift at scale. Add storage and the math changes again — the battery sizing guide and our 5–15 kWh battery range are the starting points for that conversation.
Field notes: what separates a clean job from a call-back
We have pulled thousands of feet of PV wire across composition shingle, standing seam, and torch-down, and the pattern is always the same: the crews that label strings at the j-box, photograph every attachment before the modules go down, and leave a laminated one-line at the inverter never hear from the customer again. The crews that skip those three things own that roof forever. Last August on a job in Gresham I watched a first-year apprentice catch a reversed string by Voc-checking before landing the homerun — that one habit, taught on day one, saved a $900 module-level device. Slow is smooth here.
If you are sourcing for an upcoming build, our panel kit buyer's guide bundles the major components, and the system components overview is a good checklist for apprentices learning the bill of materials. For whole-home load questions that drive sizing, how many watts to power a home and the consumption calculation guide will get the customer's usage profile nailed down before design day.
Roof types change the attachment, not the fundamentals
Composition shingle is the easy mode: flashed standoff, lag into the rafter, slide the flashing under the course above, done. Standing-seam metal uses seam clamps that grip the rib without penetrations — the best solar roof there is, and I will die on that hill. Tile is the one that eats labor. On concrete or clay tile we either use tile-replacement flashing mounts or a comp-out/picture-frame approach where the array area gets stripped to deck, flashed like shingle, and the tile is re-laced around the perimeter. Budget a full extra day on a tile roof and order 10 percent spare tiles, because you will break some no matter how careful the crew is.
Flat roofs pivot to ballasted or attached racking with tilt legs, and the design conversation becomes wind zones and parapet setbacks instead of rafters. Ballast math belongs to the structural engineer — do not eyeball it. Our ballast blocks overview covers the hardware side of that equation.
Integrating with the service panel: four legal paths
Every residential job lands the inverter output one of four ways, and choosing early saves a change order later:
| Interconnection method | NEC reference | When to use it | Watch out for |
|---|---|---|---|
| Load-side breaker (backfeed) | 705.12(B) | Simplest; bus and main ratings allow it under the 120% rule | Breaker must be at the opposite end of the bus from the main; hold-down kit often required |
| Main breaker derate | 705.12(B)(2)(3) | Swapping a 200A main for 175A frees 65A of solar on a 200A bus | Utility and AHJ approval; confirm the load calc still passes |
| Supply-side (line-side) tap | 705.12(A) | Large systems or full buses; solar lands ahead of the main | Requires listed tap hardware and a fused PV disconnect; service conductors stay unfused at the tap |
| Subpanel aggregation | 705.12(B) | Multiple inverters or combining PV with storage and generator inputs | The subpanel becomes a power control point — label it like one |
On hybrid systems with batteries, the inverter's backed-up loads panel gets its own treatment: identify which circuits move, keep neutrals and grounds straight per 250.24 and 250.142, and remember that a hybrid inverter in backup mode is a separately derived system the moment the grid relay opens. The energy storage system guide pairs well here if the customer is on the fence about adding batteries at install time versus retrofitting later.
Monitoring, maintenance, and what to tell the customer

Commission the monitoring before you leave the driveway, not from the office a week later. Verify every optimizer or microinverter reports, name the strings something the homeowner understands ("Garage roof, south" beats "String 3"), and set the alert thresholds so a dead string emails somebody who will act on it. A system that stops producing in June and goes unnoticed until the August true-up bill has cost the customer real money and you real credibility.
Maintenance is lighter than salespeople imply and heavier than the internet says. In the Willamette Valley the rain handles most soiling, but pollen season and wildfire ash years justify one cleaning. Check torque on accessible terminations at year one, look at the attic side of every penetration after the first big storm, and keep vegetation off the array edge. Modules from our 300–399W and 400–459W tiers carry 25-year product and 30-year performance warranties from the majors, but the workmanship warranty — the part that covers leaks and loose clamps — is only as good as the company that installed it. That is the honest answer to give a customer who asks why bids differ by $4,000.
Structural loads: wind, snow, and the engineer's stamp
Residential racking is engineered around ASCE 7 wind maps and local snow loads, and the rail manufacturer's span tables are only valid inside the design pressures they assume. In the Portland metro, ground snow loads run 25 to 30 psf at low elevation and climb fast toward the foothills; coastal and gorge jobs see wind speeds that cut allowable rail spans nearly in half. When the plan set says 48-inch max span between attachments, that number came from the wind and snow combination at your address — stretching it to 60 inches because the rafters "looked close enough" is how modules end up in the neighbor's pool in a November windstorm. If the roof is older than the array's warranty, re-roof first; pulling a permitted array off and resetting it costs $3,000 to $6,000 in labor alone.
The tool crib: what a competent crew brings
Customers sometimes ask why professional installs go so much faster than the DIY attempt they abandoned. Tooling is half the answer:
| Tool | What it is for | Field note |
|---|---|---|
| Torque wrench (in-lb and ft-lb) | Clamps, lugs, rail hardware | Click-type, calibrated yearly — not the impact gun |
| Clamp meter with DC capability | String current verification | AC-only meters will read zero on PV strings and confuse apprentices |
| Multimeter, CAT III 1000V rated | Voc and polarity checks | 600V strings demand real category ratings |
| Stud finder + rare-earth magnet | Rafter location | Magnet finds old roofing nails along the rafter line |
| Fish tape / glow rods | Homerun pulls through attic and conduit | Glow rods pay for themselves the first vaulted ceiling |
| Roof jacks, harnesses, anchors | Fall protection per OSHA 1926 Subpart M | Non-negotiable at any pitch over 4:12, and smart below it |
| Label printer, outdoor-rated | NEC 690.55 / 705.10 placards | Handwritten labels fade and fail inspection |
Working with the utility: net metering and export limits
Interconnection is not just paperwork — it shapes the design. Under Oregon's net metering rules, residential systems up to 25 kW qualify, but the utility's tariff decides what exported kWh are worth, and some territories now impose export caps or non-export configurations that push you toward storage. Confirm the tariff before finalizing inverter size: a 10 kW inverter on a tariff that pays avoided-cost for exports over a cap is wasted capacity unless a battery absorbs the surplus. That is where pairing with a 10 kWh battery or larger from the 15–30 kWh range changes the economics, and where the runtime calculator helps set expectations for outage coverage. Get the interconnection agreement number into the permit set; inspectors ask for it more often than you would think.
Battery-ready design choices that cost almost nothing now
Retrofit storage is two to three times the electrical labor of doing it during the original install. Three cheap decisions at install time make the later upgrade a one-day job instead of a week: choose a hybrid inverter or at least a string unit with a documented AC-couple path; run a spare 1-inch conduit from the inverter wall to the main panel area while the walls are open; and reserve two breaker spaces — physically, with a label that says "reserved for storage" — in the load center. Customers who took that advice call us for a battery and a transfer device two years later. Customers who did not call us for a panel rebuild. The battery backup kits and transfer switch selection show what that second visit typically involves.
Seasonal timing in the Pacific Northwest
Summer is dry, fast, and booked solid; a June contract often means a September install. Winter installs are absolutely workable — we roof between storms, and comp shingles seal on the first warm day — but plan float days for weather and know that short December daylight compresses a crew's productive window to about seven hours. The underrated season is spring: dry enough to roof, cool enough that modules test at their best, and early enough to bank a full summer of production. If a customer signs in February, they flip the switch before the long days arrive, and their first true-up looks a whole lot better than the neighbor who waited until July to start the paperwork.
The day-one walkthrough every homeowner should get
Before the crew leaves, I spend twenty minutes with the customer at the inverter. We locate the rapid shutdown initiator and they physically operate it. We open the production meter or the app and read what the array is making right now, in the sun, so the number is anchored in their head. We find the AC disconnect and the backfeed breaker, and I show them the label map on the one-line diagram taped inside the deadfront. Then the unglamorous part: who to call, in what order, when something looks wrong. Inverter alarm first, utility second, roofer never without us looped in. Customers who get this walkthrough generate one-tenth the panic calls of customers who get a handshake and a business card, and they write the reviews that mention the crew by name.
Put the warranty packet in writing at the same time: module product and performance terms, inverter term, workmanship term, and the roof-penetration warranty if your company offers one. I have watched more customer relationships die over vague warranty expectations than over any equipment failure. A folder with four documents prevents that, and it costs about twelve cents of printer paper.
Safety culture is a production tool
Falls and arc flash are the two ways this trade hurts people, and both are procedural failures rather than bad luck. Anchor before your second step onto the roof, every time, because the first step is the ladder and gravity does not grade on experience. On the electrical side, treat every string as energized the moment the modules see daylight — there is no off switch for sunshine, only rapid shutdown that brings conductors within the array boundary down to safe voltage. Lockout habits from the service world carry straight over: verify absence of voltage with a meter you just proved on a known source, not with the assumption that a breaker looks open. The crews with the lowest injury rates I have worked around are also, without exception, the fastest crews — because nobody is improvising, nobody is re-doing, and nobody is limping.
One last sourcing note, because it bites new contractors every spring: the balance-of-system material — flashings, lugs, labels, disconnects, conduit fittings — is what delays jobs, not the modules. Panels ship on a pallet on a predictable truck. The job stalls because somebody forgot the hold-down kits or ordered EMT connectors in the wrong trade size. Build the BOS list off the plan set, order it with the modules, and stage it in bins by array section. The installers who look effortless are the ones whose material showed up complete.
Frequently asked questions
How long does a residential solar panel installation take? Physical installation is typically 2 to 5 days for a residential crew, but the full timeline from signed contract to permission to operate runs 6 to 12 weeks because permits and utility interconnection review dominate the schedule.
Can I install solar panels myself as a homeowner? Some jurisdictions allow owner-builders to pull permits, but the electrical work must meet the same NEC requirements, and many utilities require a licensed electrician's sign-off for interconnection. Roof attachment errors also void roof warranties, so most homeowners hire out at least the electrical and flashing scope.
What wire size do I need for solar panel strings? Most residential strings use 12 or 10 AWG copper. Size from NEC 310.16 with the 690.8 multiplier of 1.56 times Isc, plus temperature and conduit-fill corrections. A 12 AWG THHN-2 conductor at 75°C carries 25 A before corrections.
What is the NEC 120 percent rule for solar? NEC 705.12 limits backfed solar breakers so the busbar is not overloaded: with a 200 A bus and 200 A main breaker, up to 40 A of solar is allowed. Larger systems need a main breaker derate, a supply-side tap, or a panel upgrade.
Do solar panels damage the roof? Properly flashed attachments into rafters do not damage a sound roof and can actually shield the covered area from UV. Leaks come from missed rafters, unsealed penetrations, and reusing old flashing holes — workmanship issues, not something inherent to solar.
How many solar panels do I need for my house? Divide your annual kWh usage by the local production per kW of array — roughly 1,100 to 1,400 kWh per kW per year in much of the US — then divide the required kW by module wattage. A home using 12,000 kWh a year in a 1,200 kWh/kW climate needs about 10 kW, or 25 modules at 400 W.