Sometimes the roof is the wrong roof. Wrong orientation, wrong structure, wrong vintage, shaded by a neighbor's firs — or there simply is no roof worth using, because the building is a barn with 40-year-old fiberboard or the project is a well pump in the middle of a pasture. That is when we put solar panels on poles, and after two decades of watching pole-mount projects succeed and fail across the Northwest, I can tell you the difference is never the panels. It is the hole, the steel, and the wind math. This guide covers all three, with the structural rules of thumb, NEC requirements, and field practice that separate a pole array still standing in year twenty from the one lying in the fence line after the first November storm.

Pole mounting is legitimate structural work. The loads are real, the failure modes are unforgiving, and the permitting conversation is more involved than a flush roof mount. Done right, though, a pole array out-produces a compromised roof by 20 to 30 percent, tilts seasonally, sheds snow, and never touches a shingle. It is the right tool more often than the industry admits.
Why poles: the honest case for leaving the roof alone
The pitch writes itself once you have seen the alternatives. A pole mount sets azimuth and tilt to true optimal — due south at latitude tilt in our region — instead of accepting whatever the roof geometry offers. Panels run 10 to 20°C cooler in free air than against a hot roof deck, and every degree of cell temperature is worth roughly 0.4 percent of output, so ground-level airflow alone buys 4 to 8 percent more energy. Maintenance is a stepladder job instead of a harness job. Snow sheds sooner at steeper tilt. And the roof — with its remaining lifespan, its warranty, its moss line — is simply out of the equation.
The costs are equally honest: engineered foundations, trenching, more conspicuous hardware, and a structure your neighbor can see. Zoning and setback rules apply to a pole array as an accessory structure in most jurisdictions. Budget the engineering and the concrete with open eyes and the comparison against roof mount stays fair.
Pole types and what they carry
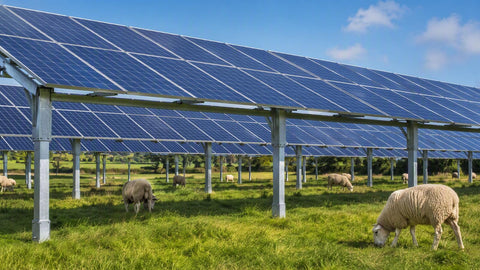
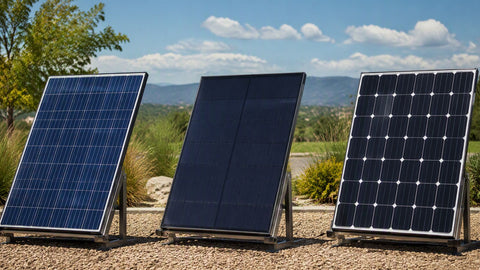
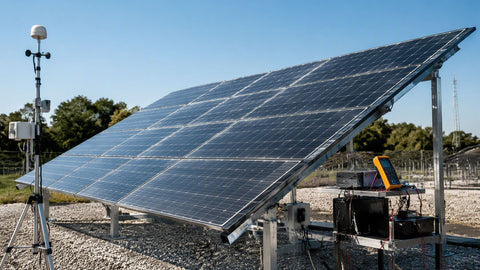
Pole mounts divide into two families. Top-of-pole mounts put the array's center of gravity directly over a single large steel pipe — typically 4 to 8 inches in diameter schedule 40 — with the array tilting and sometimes tracking around the pole cap. Side-of-pole mounts bolt smaller arrays (one to four modules) to the face of a pole, common for off-grid lighting, telemetry, and small pumping systems. The families serve different scales:
| Configuration | Typical array size | Pole spec (typical) | Common applications |
|---|---|---|---|
| Side-of-pole, fixed | 1–4 modules (up to ~1.5 kW) | 4–6 in schedule 40 steel | Gate operators, well pumps, remote lighting, small cabins |
| Top-of-pole, fixed tilt | 4–12 modules (2–6.5 kW) | 6–8 in schedule 40/80 steel | Residential off-grid, barns, shops, ground-mount alternative |
| Top-of-pole, seasonal adjustable | 6–15 modules | 8 in schedule 40 with tilt hardware | Off-grid homes maximizing winter production |
| Multi-pole ground mount | 12+ modules | Multiple posts, engineered rack | Larger residential and small commercial — see racking systems |
Module choice matters more on poles than on roofs because the array is a sail. Large-format 550W-class modules mean more area per attachment and more overturning moment per gust; on top-of-pole mounts, many engineers prefer the 400 W residential-format modules for their smaller sail area per module. Our 400–459W tier fits most top-of-pole rack schedules, while the big glass belongs on multi-post ground mounts.
The wind math you cannot skip
Every pole-mount failure I have been called to inspect traced back to wind — not because wind is mysterious, but because somebody sized the pole by what looked right instead of by pressure times area times leverage. The starting point is ASCE 7 velocity pressure: q = 0.00256 × V² in pounds per square foot, with V the design wind speed in mph for your exposure category. At a 90 mph design speed, q ≈ 20.7 psf. Now multiply by array area:
| Array | Area (approx.) | Force at 90 mph (q = 20.7 psf) | Force at 110 mph (q = 31.0 psf) |
|---|---|---|---|
| 4 × 400W modules | ≈ 86 sq ft | ≈ 1,780 lb | ≈ 2,665 lb |
| 8 × 400W modules | ≈ 172 sq ft | ≈ 3,560 lb | ≈ 5,330 lb |
| 12 × 400W modules | ≈ 258 sq ft | ≈ 5,340 lb | ≈ 7,995 lb |
| 15 × 550W modules | ≈ 400 sq ft | ≈ 8,280 lb | ≈ 12,400 lb |
Those forces act at the array's center of pressure, typically 6 to 9 feet above grade — so an 8-module array at 90 mph applies roughly 25,000 ft-lb of overturning moment at the ground line. Add gust factors, exposure multipliers for open fields, and the topographic speed-up on any hill or ridge, and the number climbs further. This is why the rack manufacturer's engineering tables — which translate wind speed, exposure, and array size into required pole size and embedment — are not decorative. Use them or hire the stamp. Never interpolate bravely.
Foundations: the hole, the concrete, the schedule

The classic embedment rule for pole structures is depth = 10 percent of pole length plus 2 feet, but engineered pole mounts usually demand more than the rule of thumb because the overturning moment dwarfs what a fence post ever sees. Manufacturer schedules for residential top-of-pole arrays commonly land here:
| Array size | Pole above grade | Typical embedment | Footing diameter | Concrete volume |
|---|---|---|---|---|
| 4 modules | 6–8 ft | 4 ft | 18–24 in | ≈ 7–12.5 cu ft (12–21 × 80 lb bags) |
| 8 modules | 7–9 ft | 4.5–5 ft | 24–30 in | ≈ 14–24.5 cu ft (24–41 bags) |
| 12 modules | 8–10 ft | 5–6 ft | 30–36 in | ≈ 24.5–42 cu ft (41–70 bags) |
| 15+ modules / high wind | Per engineering | Per engineering | Per engineering | Order the truck — bagging this is a false economy |
Concrete math for the record: a 24-inch-diameter hole 4 feet deep holds π × 1² × 4 ≈ 12.6 cubic feet, and an 80-pound bag yields about 0.6 cubic feet — call it 21 bags. Soil matters as much as volume: the schedules assume decent bearing soil, and saturated Willamette clay in February is not that. Loose or saturated soils argue for bigger footings, sonotube forms to keep the hole honest, and bell-out bottoms where the engineer specifies them. Set the pole plumb in both axes, brace it before the pour, and let the concrete cure to spec — three days minimum before racking loads, a week before the array's full sail goes up, longer in cold weather. Call 811 before any auger turns; the five minutes saves the five-figure repair.
Tilt, azimuth, and the seasonal adjustment habit
Fixed-tilt pole arrays in Oregon do well at latitude tilt (about 45°) or slightly steeper to bias winter and shed snow. Adjustable mounts let you flatten toward summer (latitude minus 15°) and steepen toward winter (latitude plus 15°), worth roughly 5 to 8 percent more annual energy if the owner actually adjusts them — and that conditional is doing heavy lifting. An adjustable mount set once and abandoned is just a fixed mount with extra bolts to check. For off-grid systems where winter is the binding constraint, I recommend fixed-at-winter-tilt over adjustable-everything: the off-grid user needs December, not annual average. Our off-grid battery sizing guide pairs that winter-first design philosophy with the storage math.
Getting the power home: trenching and the NEC underground rules
A pole array's output travels underground, and Article 300.5 burial depths apply by wiring method: direct-buried UF or USE-2 cable at 24 inches, rigid metal conduit at 6 inches, PVC Schedule 80 at 18 inches (residential branch circuits of 120 V or less with GFCI can go 12 inches, but PV source circuits at 400–600 V do not qualify). Trench once, and put the warning tape 12 inches above the conductors. At the pole, conduit emerges with an expansion fitting and a sweep into the combiner or disconnect — the array's first code-required equipment, since 690.13 wants a PV disconnect and 690.15 wants isolating means serviceable at the equipment.
Voltage drop earns its own paragraph because pole arrays sit farther from the load than roof arrays. The formula: VD = 2 × K × L × I ÷ CM, with K = 12.9 for copper, L the one-way distance in feet, I the current, CM the conductor circular mils. A 150-foot run carrying 20 A on 12 AWG (6,530 CM) drops 2 × 12.9 × 150 × 20 ÷ 6,530 ≈ 11.9 V — over 5 percent of a 240 V circuit and unacceptable. Step to 8 AWG (16,510 CM) and the same run drops 4.7 V, under 2 percent. Long runs are why many pole systems step up to higher-voltage strings: current, not voltage, is what drop punishes. Our ampacity guide and PV wire guide cover conductor selection, and the conduit fill chart sizes the raceway for whatever you pull.
Grounding and lightning protection at the pole
A steel pole with a metal array on top, standing alone in a field, is the tallest thing around — treat lightning exposure as a design input, not an act of God. NEC 690.43 and Article 250 require the equipment grounding conductor to bond the module frames, rack, and pole back to the premises grounding system; 250.52/250.53 drive the ground electrode at the structure. On exposed rural sites I add a local ground rod at the pole bonded to the EGC run, and I specify a Type 1 or Type 2 SPD at the inverter end without debate — the SPD guide and grounding guide have the details. The insurance math is simple: SPDs cost hundreds; inverter boards cost thousands; rural lightning does not care about your budget.
Permits, setbacks, and the neighbor conversation

Pole arrays are structures, and most jurisdictions permit them as such: accessory structure setbacks from property lines (commonly 5 to 10 feet), height limits that the array-on-a-pole silhouette can flirt with, and sometimes design review in view corridors or HOA territories. The building department wants the engineered drawings — pole spec, footing detail, wind rating — which reputable rack manufacturers provide as permit packages. Do the neighbor conversation before the concrete truck arrives, not after. A polite heads-up and a site plan showing the array's sightline has defused more disputes than any variance hearing ever will.
Field notes: the pole that taught me about soil
Fifteen years ago we set a beautiful 12-module top-of-pole array for a customer outside Sandy — engineered pole, correct footing diameter, everything by the book except one thing: the hole went in during a dry September, and the footing sat in what turned out to be a seasonal drainage path. By February the soil was soup, by March the array leaned four degrees, and by April we were re-setting a pole we had been proud of. The fix was a bigger bell-out footing and a French drain, and the lesson was free for everyone after me: dig the test hole, but more importantly, understand the site in the wet season, not just the day the auger shows up. The other durable lesson from that job: the customer watched us eat the re-set cost without a fight and has sent us a dozen referrals since. Standing behind the work is the whole business model.
Top-of-pole versus multi-post ground rack: the crossover point
Customers frame this as an aesthetic question and it is really a structural one. A single top-of-pole mount concentrates every pound of wind moment into one foundation — elegant up to about 12 residential-format modules, then increasingly expensive in steel and concrete as the moment arm grows. Multi-post ground racks spread the same loads across two, three, or four smaller posts with shallower individual footings, and they scale nearly linearly: a 20-module ground rack is just a longer row, while a 20-module single pole is a flagpole engineering project. The crossover we use at the counter: at or under 10 modules and a premium on adjustability, top-of-pole; above 12 modules or on a site with rocky soil where one deep hole beats four, ground rack; anything past 20 modules, stop calling it a pole project entirely. Either way the array lands in the same place electrically — sized strings, NEC-compliant wiring, and production the roof could not deliver.
Trackers: the pole's ambitious cousin
Single-axis trackers exist in the residential market, and every few years a customer falls in love with the idea. The physics are seductive — following the sun buys 15 to 25 percent more annual energy — and the mechanics are brutal: motors, controllers, slew drives, and an array that must stow itself flat when the wind sensor panics, all outdoors, for decades. Our honest counsel after watching tracker ownership up close: for a residential budget, buy the 20 percent as extra modules on a fixed pole instead. Steel and silicon have no motors to fail, no stow logic to corrupt, no gearbox grease in January. Trackers earn their keep at utility scale with maintenance contracts; at homestead scale they are a hobby disguised as infrastructure. If the goal is more winter energy for an off-grid system, steep fixed tilt plus honest battery sizing — see the battery bank guide and our 15–30 kWh storage range — beats mechanical ambition every time.
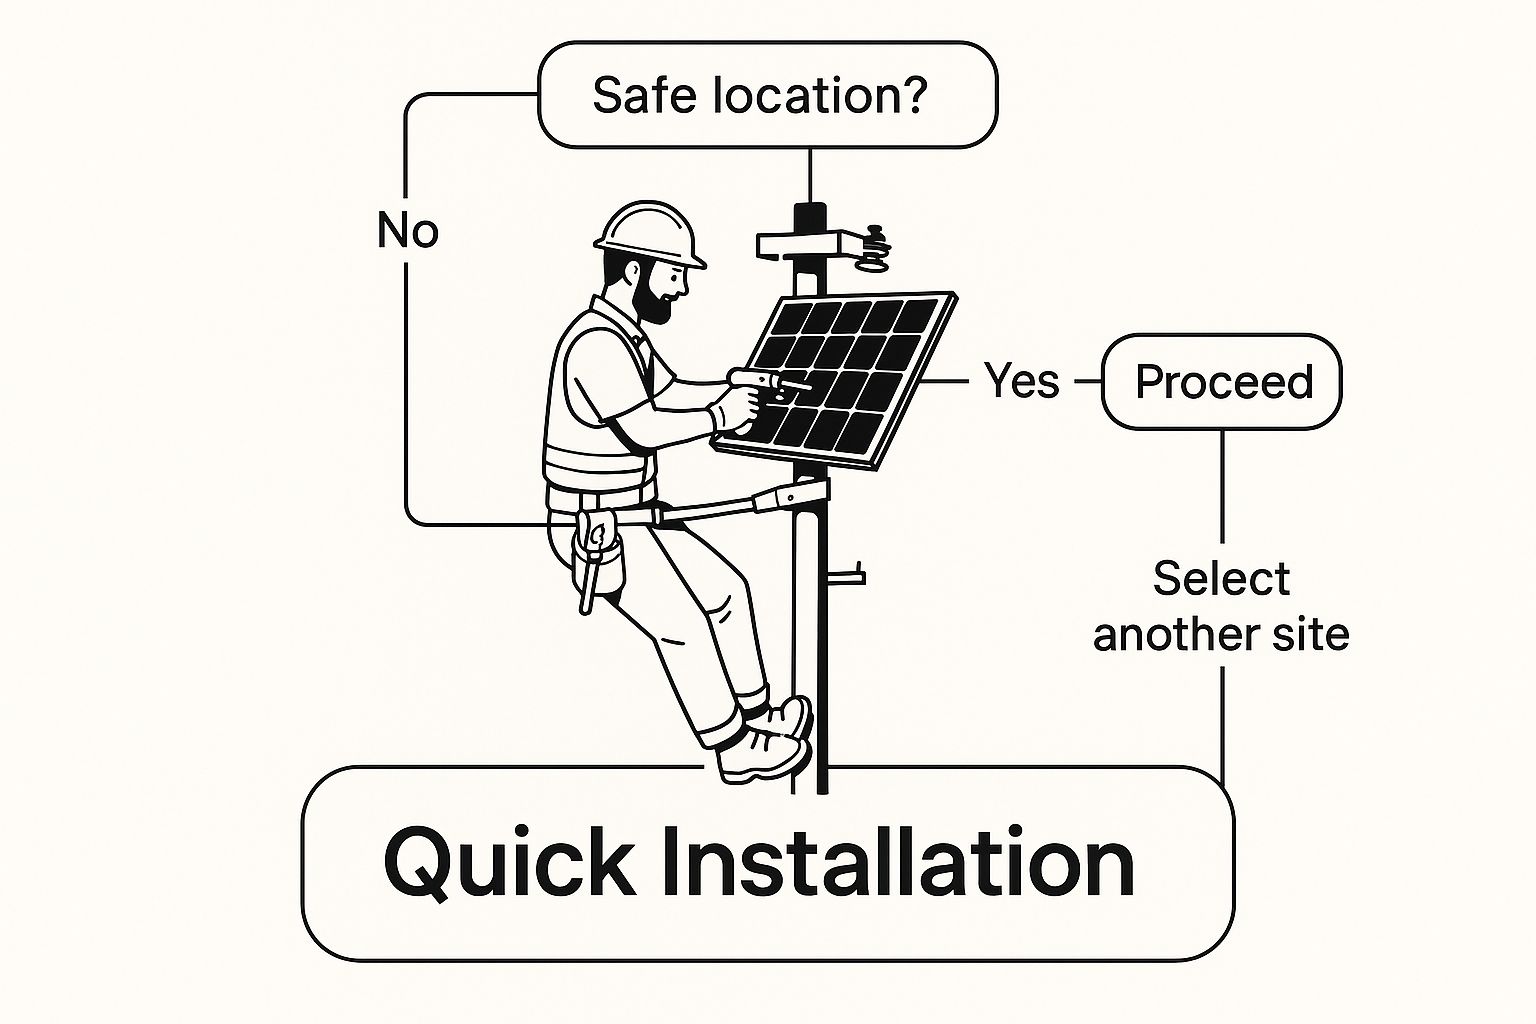
The pole-mount maintenance calendar
| Interval | Task | Why it matters |
|---|---|---|
| Monthly (owner) | Visual: array plumb, no new lean, vegetation below panels | Early lean detection is a re-torque; late detection is a re-pour |
| Twice yearly (owner) | Rinse panels at ground level; clear brush 3 ft around the pole | Fire clearance and airflow; pole arrays invite weed growth in the drip line |
| Annually (owner or service) | Torque-check rack hardware and module clamps; inspect conduit and trench entry | Thermal cycling and wind working loosen what installation torqued tight |
| After major wind events | Sight down the array plane; check footing for soil gaps or heaving | Soil separation at the pole is the first visible overturning symptom |
| Every 5 years | Touch up pole coating below grade line; inspect for corrosion at the concrete interface | The grade line is where galvanized poles die — water, oxygen, and concrete meet there |
What a pole-mount project costs
| Cost element | 8-module top-of-pole (typical) | Notes |
|---|---|---|
| Modules (8 × 400W class) | Module market price × 8 | 400 W residential tier is the usual fit |
| Pole-mount rack + engineered pole | $800–$1,800 | Steel prices swing this band; engineering included from reputable vendors |
| Concrete and excavation | $300–$900 DIY / more contracted | Auger rental beats a shovel by exactly one hole |
| Trench, conduit, wire (150 ft run) | $400–$800 in material | Upsize wire for drop, not just ampacity — the ampacity chart has the circular-mil figures |
| Inverter / charge controller | System-dependent | Off-grid: 60 A controllers; grid-tie: string or hybrid units |
| Permits and engineering letter | $300–$1,000 | Varies wildly by jurisdiction |
| Labor (contracted) | 2–4 crew-days | Day 1: hole and pole. Day 2 onward: rack, modules, electrical after the cure |
All-in, a contracted 8-module pole array typically lands 15 to 30 percent above the same capacity flush-mounted on a friendly roof — and 15 to 30 percent above it in annual production too, when the roof was the compromised one. The arithmetic favors poles exactly when the roof deserves to be left alone.
Snow country specifics
At elevation, pole mounting stops being a preference and becomes the default answer, for three reasons. First, ground clearance: a pole array at 4 to 6 feet of leading-edge clearance sits above the snow depth that buries a ground rack by January. Second, tilt: 60-degree winter tilt sheds snow on the first sunny morning instead of holding a white blanket for a week — off-grid winter production depends on that shed behavior, not on any wattage number. Third, access: clearing the occasional drifted base with a shovel beats shoveling a roof, full stop. Design notes for snow country: check the rack's snow-load rating against local ground snow load, keep the lower module edge above the historic drift line plus a foot, and remember that sliding snow arrives below the array with enthusiasm — do not park the snowblower, the firewood, or anything else you value in the drop zone.
Pairing pole arrays with off-grid and hybrid systems
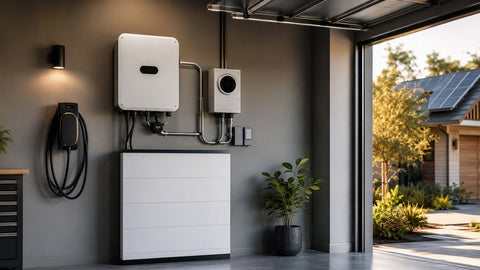
Pole mounts and off-grid systems are natural partners because both live where the grid does not reach or where the roof is a barn. The system stack is conventional: array to combiner/disconnect at the pole, then charge controller or hybrid inverter PV input, battery bank, and loads. Charge controller selection follows array voltage and current; our controller sizing guide and the MPPT vs PWM comparison cover that decision, with MPPT the obvious answer for pole arrays whose cold-weather Voc headroom is free energy. Storage sizing drives off the winter production the steep tilt delivers, and the 48V battery lineup is the backbone of most systems we kit. For grid-tied homes adding a pole array with backup intent, the hybrid inverter guide explains the single-box architecture that handles solar, battery, and generator inputs together — pole arrays feed it exactly like any other PV source, and a 100 Ah-class 48V rack battery bank sized off the off-grid sizing math turns a fair-weather array into a year-round power system.
Field notes: teaching the wind table to a skeptical rancher
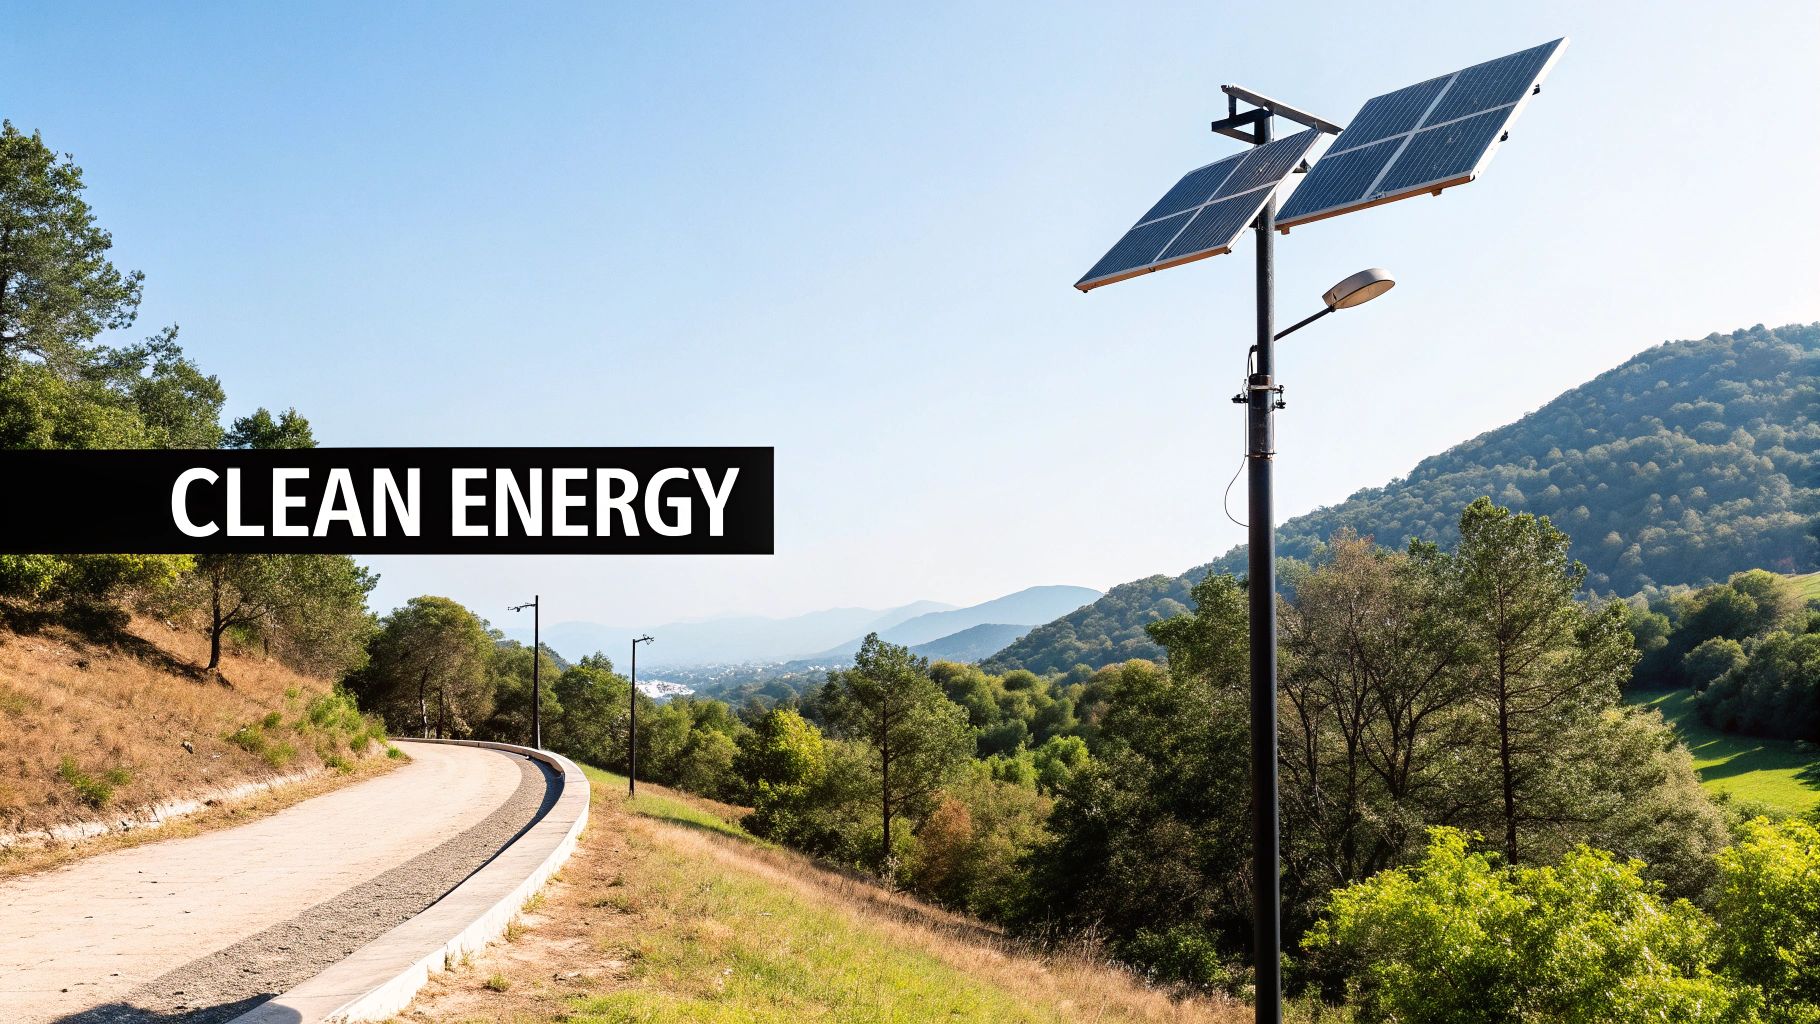
I once stood in a pasture outside Madras with a rancher who had built everything on his place with his own hands and considered engineering tables a coastal affectation. We did the arithmetic on his tailgate: his planned 12-module array, his ridge's real wind exposure, the overturning moment, the pole he had salvaged versus the pole the table wanted. He stared at the numbers, then at the salvaged pipe, then ordered the schedule-80 pole and an extra yard of concrete. Two winters later a storm took his barn roof and the array never moved. He tells that story better than I do, and he tells it to every neighbor who asks about the panels on the hill. The wind math is the sales pitch — you just have to be willing to do it on a tailgate.
The five pole-mount mistakes that generate rescue calls
Every failed or failing pole array we have been called to rescue fits one of five patterns, and all five were preventable at zero extra cost. First, the undersized salvaged pole — pipe from the barn corner with unknown wall thickness holding a brand-new sail. Second, the shallow footing justified by "the ground here is hard" — hard dry soil in August is soup in February, and the footing must be sized for February. Third, the skipped permit, which feels clever until the insurance adjuster asks for it after a storm claim. Fourth, wire undersized for the run, turning a long trench into a permanent 6 percent production tax. Fifth — and this one is pure heartbreak — the array sited for the customer's view of it rather than its view of the sky, tucked beside a handsome oak that shades it from 2 PM onward. The oak wins every argument for the next thirty years. Site for the sun, engineer for the wind, permit for the future, and the pole mount becomes the best-performing array on the property.
Living with an adjustable mount: the honest owner's manual
If you do choose seasonal adjustment, build the habit into the calendar like furnace filters: flatten the array around the spring equinox, steepen it around the fall equinox, and put both dates in the phone with reminders. Adjustment day is also inspection day — you are already at the array with wrenches in hand, so torque-check the pivot hardware, look at the pole base for soil gaps, and clear whatever the wind deposited against the leading edge. Two people make the job twenty minutes; one person with a prop stick makes it an hour and a hernia risk. And here is the discipline nobody warns new owners about: write the tilt angles on a tag wired to the pole. The difference between a 25-minute adjustment and an afternoon of guesswork is knowing what the summer and winter angles were supposed to be without re-deriving them from a chart you can no longer find. The customers who treat the adjustment as a ritual love their arrays; the ones who treat it as a chore eventually stop, and their systems quietly revert to fixed-tilt performance — which, honestly, is still better than the roof they were avoiding.
That is the pole-mount truth from twenty years of holes and concrete: the technology is simple, the physics is unforgiving, and the results reward exactly the amount of engineering you put in. Size the pole from the wind table, dig for February, trench to code, torque to spec — then stand back and watch a piece of quiet steel outperform every compromised roof on the street for the next three decades.
A note on DIY versus contracted pole work
Pole mounting sits at the edge of honest DIY territory, and the line is the foundation. A mechanically inclined owner with an auger rental can absolutely set a small side-of-pole array for a gate or a well pump, and thousands have. But once the array exceeds a few modules, the wind loads become structural engineering, the concrete volumes become logistics, and a mistake becomes a liability that outlives the warranty. My standard advice at the counter: DIY the racking and module work if you have the skills, contract the footing and pole set, and always — always — hire the licensed electrician for the trench run's terminations and the interconnection. The money saved on the middle phase is real; the money risked on the two ends is not savings at all. And whichever path you take, photograph the hole before the pour, the rebar or schedule marks, and the plumb check. Those three photos are the cheapest insurance the project will ever carry, and the inspector will love you for them.
The long view on pole-mounted solar
Step back from any single project and the pattern is clear: pole arrays occupy the gap between what roofs offer and what sites allow, and they close that gap with simple, durable, repairable hardware. Every component is reachable from the ground with hand tools. Every structural decision is documented in an engineering table rather than a hope. Every watt of the output advantage — the optimal tilt, the cool free-air operation, the snow-shedding steepness — compounds daily for decades. We have customers whose pole arrays have outlasted two roofs on the house behind them. When the site says pole, believe it, engineer it honestly, and build it once.
Good holes, honest steel, real math — the pole array that gets all three never makes the news, and that is precisely the point.
Build it to the table, and it will still be standing — and producing — long after the truck that delivered it has been sold twice.
Frequently asked questions
Are pole-mounted solar panels worth it compared to roof mount? When the roof is shaded, structurally marginal, or wrongly oriented, yes — pole arrays set optimal tilt and azimuth, run cooler in free air, and can out-produce a compromised roof array by 20 to 30 percent. The tradeoff is foundation engineering, trenching, and a visible structure in the yard.
How deep does a solar panel pole need to be buried? The rule of thumb is 10 percent of pole length plus 2 feet, but engineered pole-mount schedules typically specify 4 to 6 feet of embedment in concrete for residential arrays, with diameter growing with array size and wind exposure. Follow the rack manufacturer's engineered table for your wind zone.
Do pole-mounted solar panels need a permit? Yes, in nearly every jurisdiction — they are permitted as accessory structures with setback and sometimes height rules, and the building department will want engineered structural drawings. Electrical permits for the PV system and underground run are separate and also required.
Can pole-mounted panels withstand high wind? Properly engineered ones absolutely do — the pole, footing, and rack are all selected against the site's ASCE 7 design wind speed. Failures come from undersized poles, shallow footings, and soil conditions nobody verified, not from wind being unknowable.
How far can a pole array be from the house? Electrically, as far as voltage drop allows: keep the run under 3 percent drop by upsizing conductors or raising string voltage. A 150-foot 240 V run at 20 A needs roughly 8 AWG copper. Practically, most residential pole arrays sit within 50 to 150 feet of the service.
Are ground screws an alternative to concrete footings? Yes — engineered helical piles and ground screws install fast with no cure time and perform well in many soils, at higher material cost. They still require the same engineering against overturning loads, and rocky or saturated soils can rule them out.